Adding Windows node to Jenkins

Create a Windows image in your Virtual box (any versions such as XP, 7, 8, etc). Then install JDK (8).
Step-2:Set the Environment variables

Come to Jenkins Master Goto Manage Jenkins -> Configure System
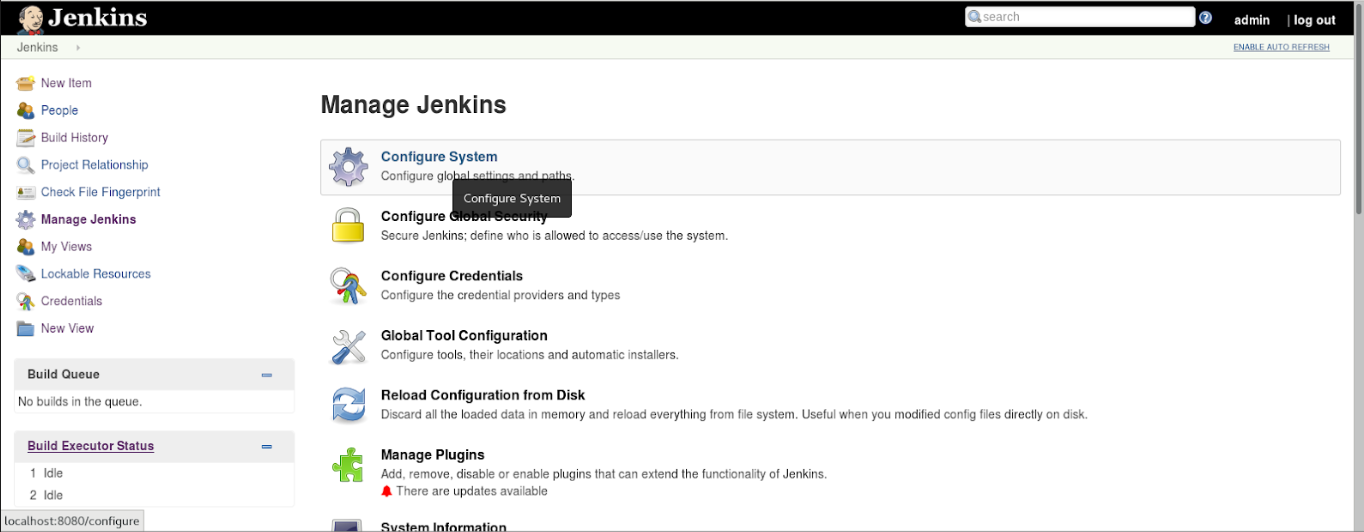
Step-4: Convert the local host to the Master’s IP address in Jenkins Location
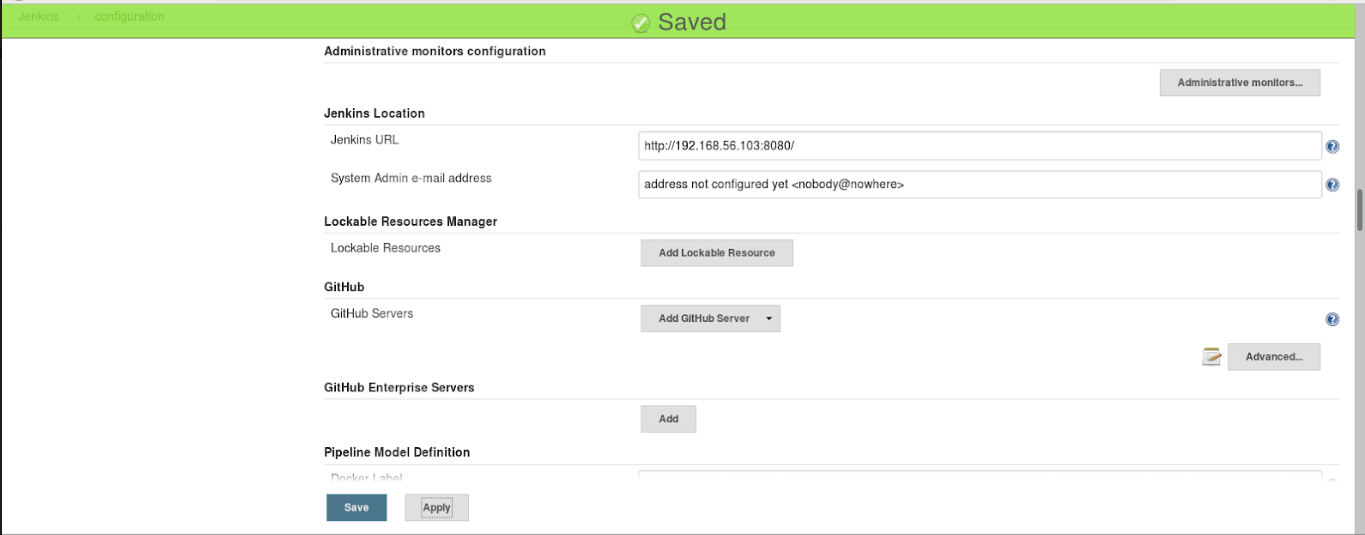
Step-5: Now Come Back to Manage Nodes and Click on Manage Nodes
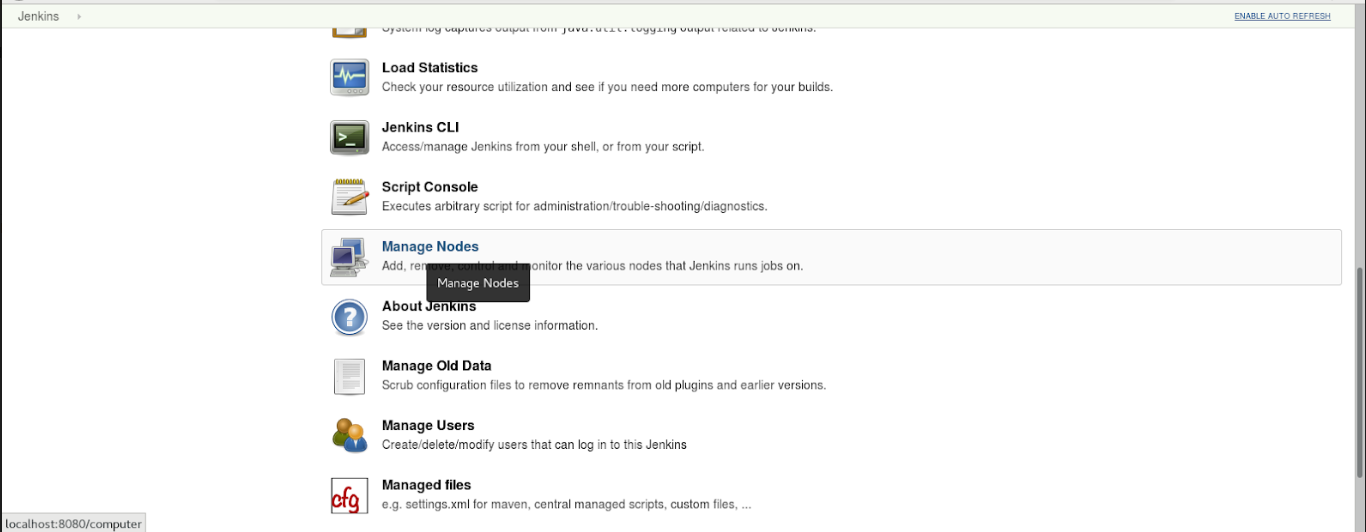
Step-6: Create a new node by clicking on the New Node icon
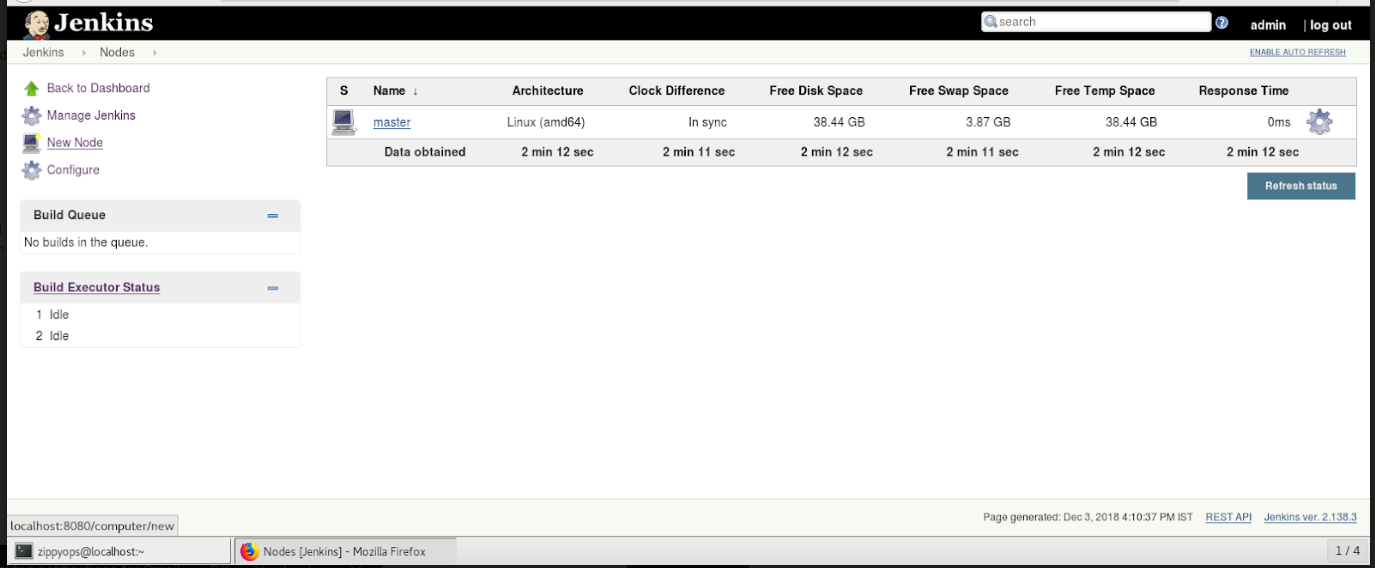
Step-7: Name the node as Windows_Slave node or name the user wants to provide for the slave node and also click on the permanent agent radio button and click Ok
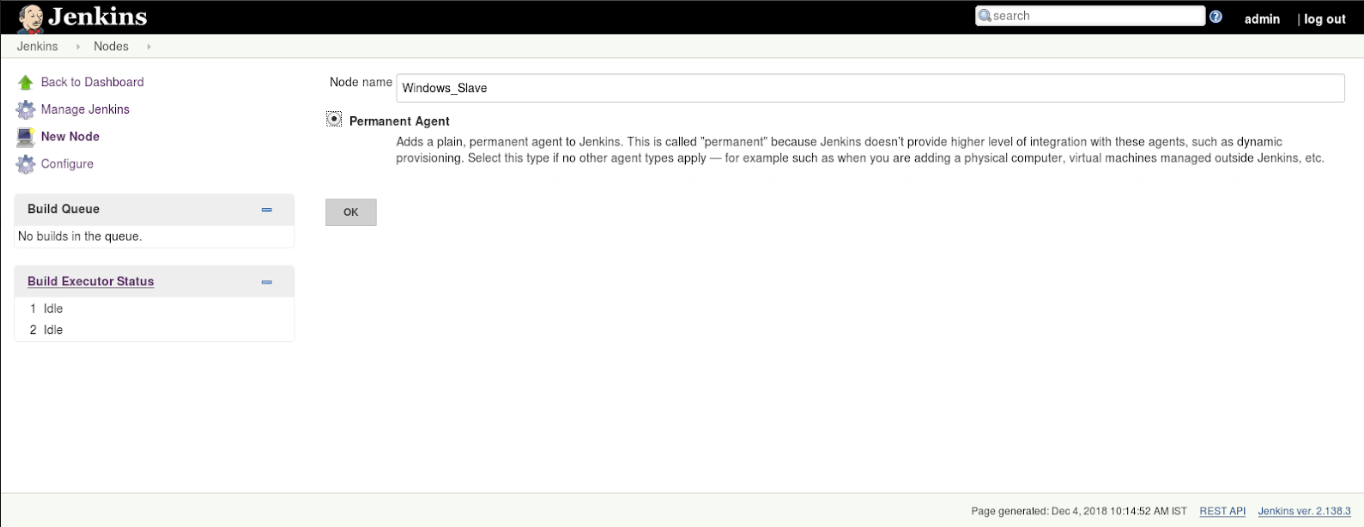
Step-8: Provide the necessary in the fields
*Descriptions
*Executors (Default as 1)
*Remote root Directory (directory dedicated to Jenkins Master) = “C:/Jenkins”
(The place that is created to generate a workspace from Master)
*Labels(used to group multiple agents into one logical group) = windows
*Usage: Use node as much as possible
*Launch method (Launch agent via Java Web Start)
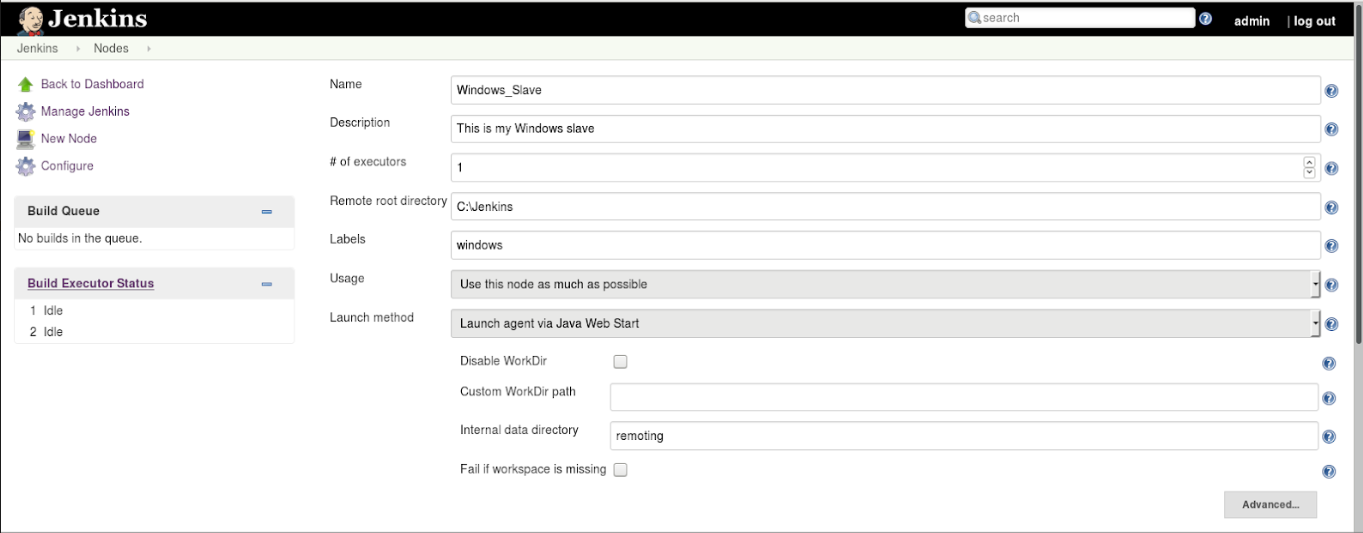
Step-9: Leave the Rest as Default and click the Save to save the Changes
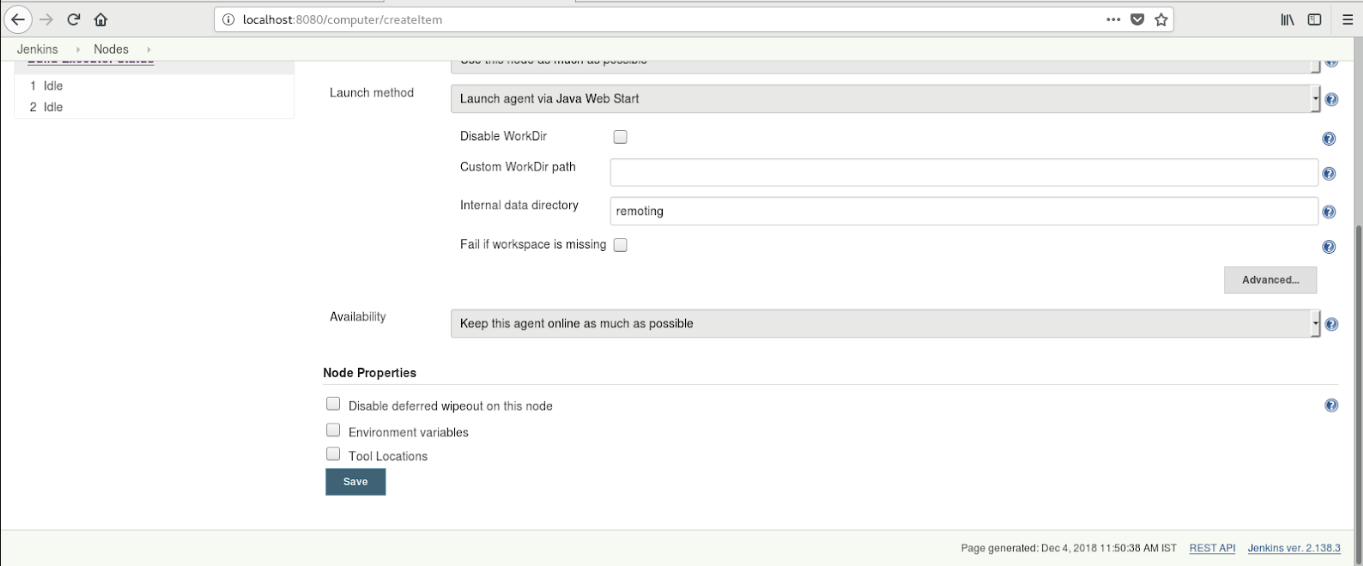
Step-10: Once saved the user can see the Windows_slave node in the list and click on the Windows_slave node that has been created

Step-11: Once the user clicks on the node he created the page shows the way to connect the agent

Step-12: Now to make the connectivity Save the agent.jar file

Step-13: Paste the agent.jar file in the user’s windows slave node in “C:/Jenkins”

Step-14: After that open the Command prompt and go to “C:/Jenkins”. For there place the command that was listed on the previous page in the Command Prompt under “C:/Jenkins”


Step-15: Now the Windows Node is connected and it will visible as connected in the Node list along with master

Step-16: Now to create a workspace in the slave node Create a freestyle project with the desired name and click OK

Step-17: Fill the necessary if you need and Enable “Restrict where this project can be run” and produce the Slave node’s name there (example: Windows_Slave (the name of my win* node), the user can also produce the Label name that he has given while building the project

Step-18: After that Goto the build options and Click on “Execute Windows bash command” it is also similar to the shell commands that we give to the Linux oriented systems

Step-19: Here the user can produce the Commands that needed to be executed in the Windows slave. Through these commands the user can modify the required function he needs within the workspace that has been created

Step-20: After finishing the “Execute Windows bash commands” Click on the Apply to apply the changes and click on the Save to save the changes and proceed. Once after saving the project and Click on “Build Now” and the console process occurs which creates the workspace in the Directory that has been specified in the Slave node (Windows)

Step-21: Now the user can directly view the Workspace, tools and other configurations that are created in the Directory specified previously
Hence the Windows Slave Node has been connected
Relevant Blogs:
Ansible installation in Windows
Recent Comments
No comments
Leave a Comment
We will be happy to hear what you think about this post