Aws Provisioning three tier architecture with jumphost

*Setup the Virtual Private Cloud (VPC)
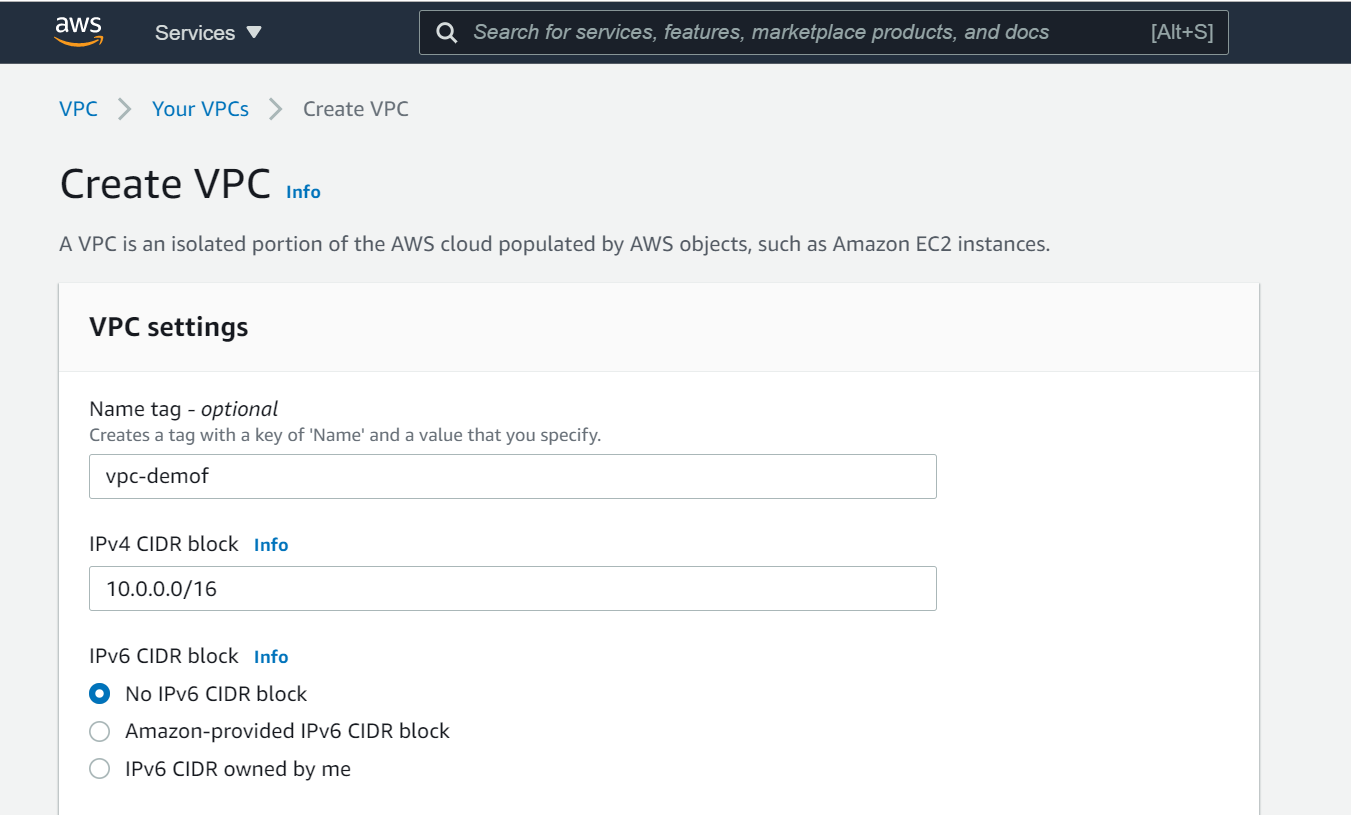
VPC stands for Virtual Private Cloud (VPC). It is a virtual network where you create and manage your AWS resource in a more secure and scalable manner. Go to the VPC section of the AWS services, and click on the Create VPC button.

Give your VPC a name and a CIDR block of 10.0.0.0/16 and click "create"
*Setup the Internet Gateway
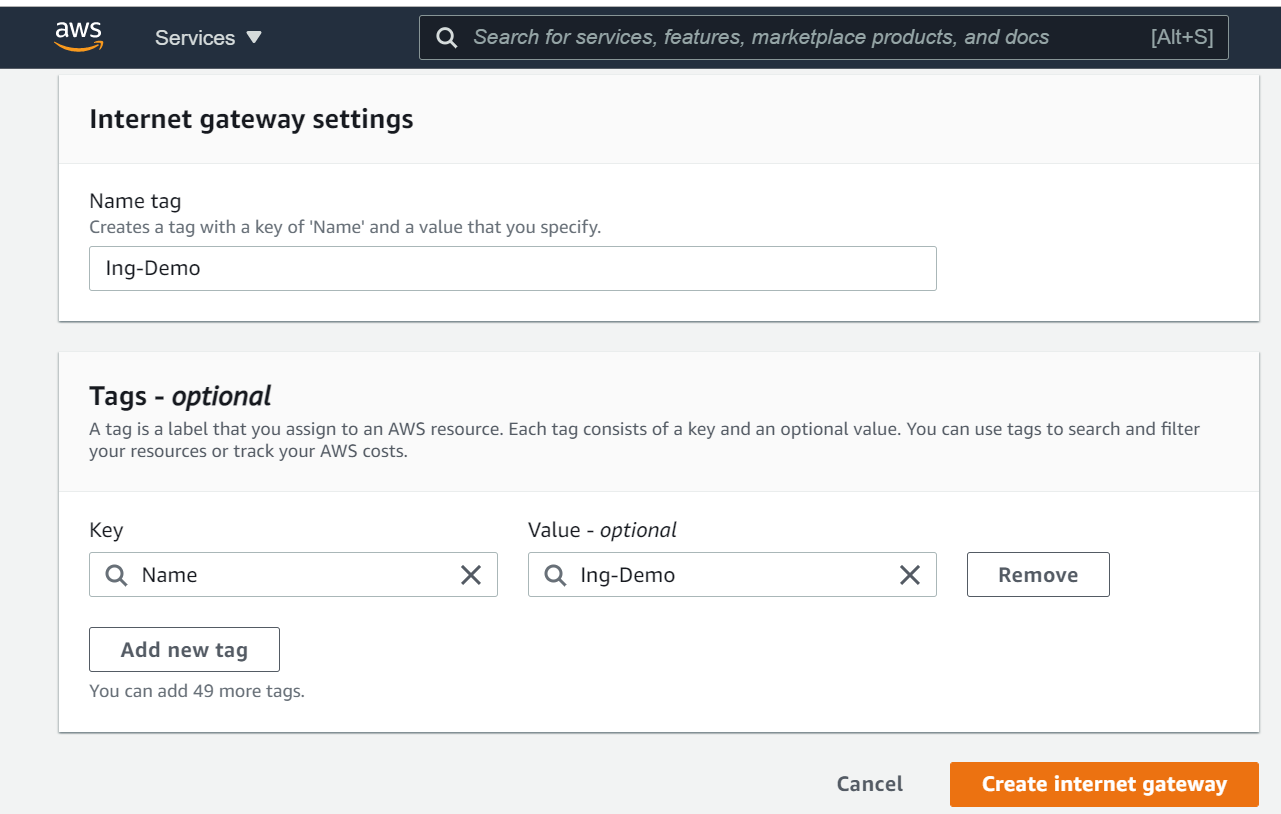
The Internet Gateway allows communication between the EC2 instances in the VPC and the internet. To create the Internet Gateway, navigate to the Internet Gateways page and then click on Create internet gateway button.
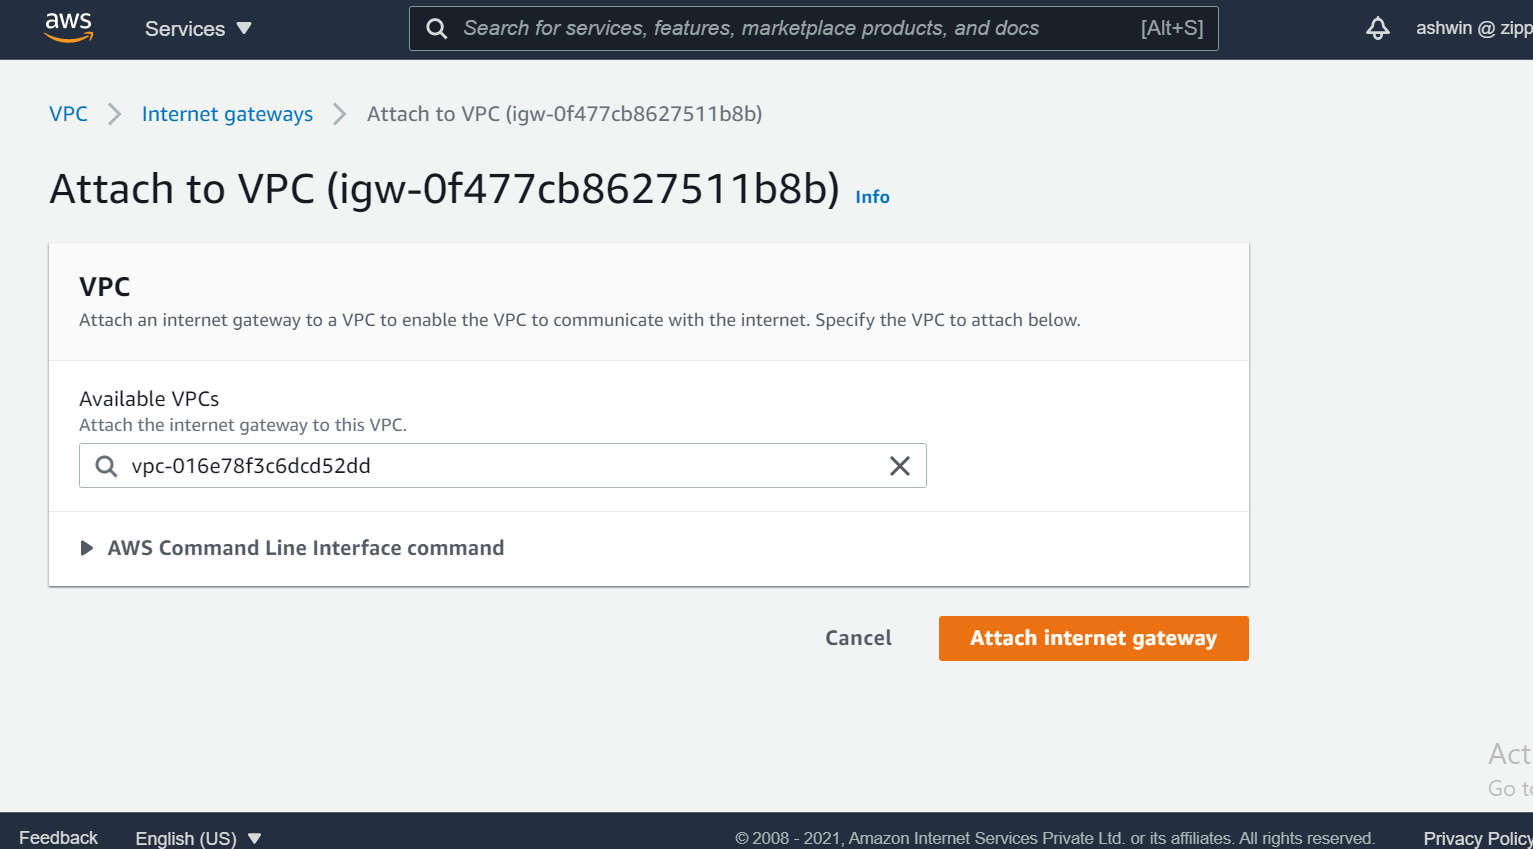
We need to attach our VPC to the internet gateway. To do that
*select the internet gateway
*Click on the Actions button and then select Attach to VPC.
*Select the VPC to attach the internet gateway and click Attach
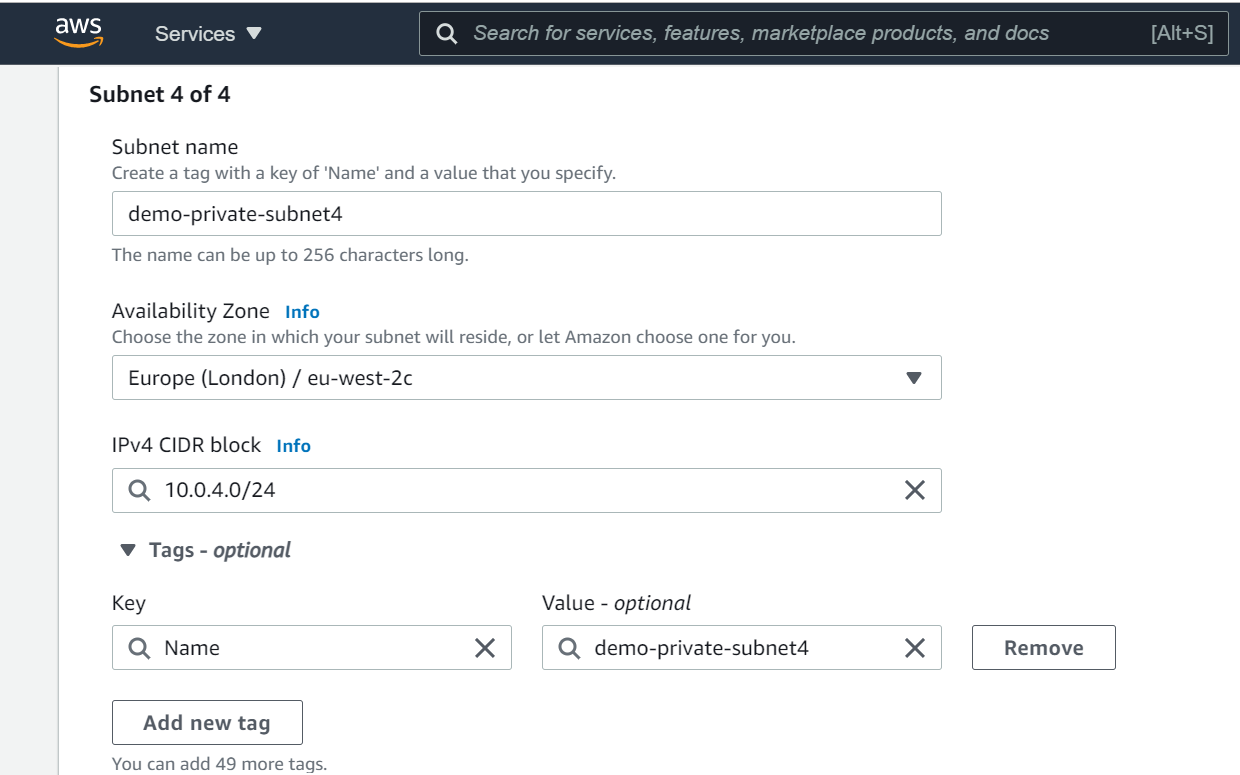
*Create public & private Subnets
A subnet can be public or private. EC2 instances within a public subnet have public IPs and can directly access the internet while those in the private subnet do not have public IPs and can only access the internet through a NAT gateway.
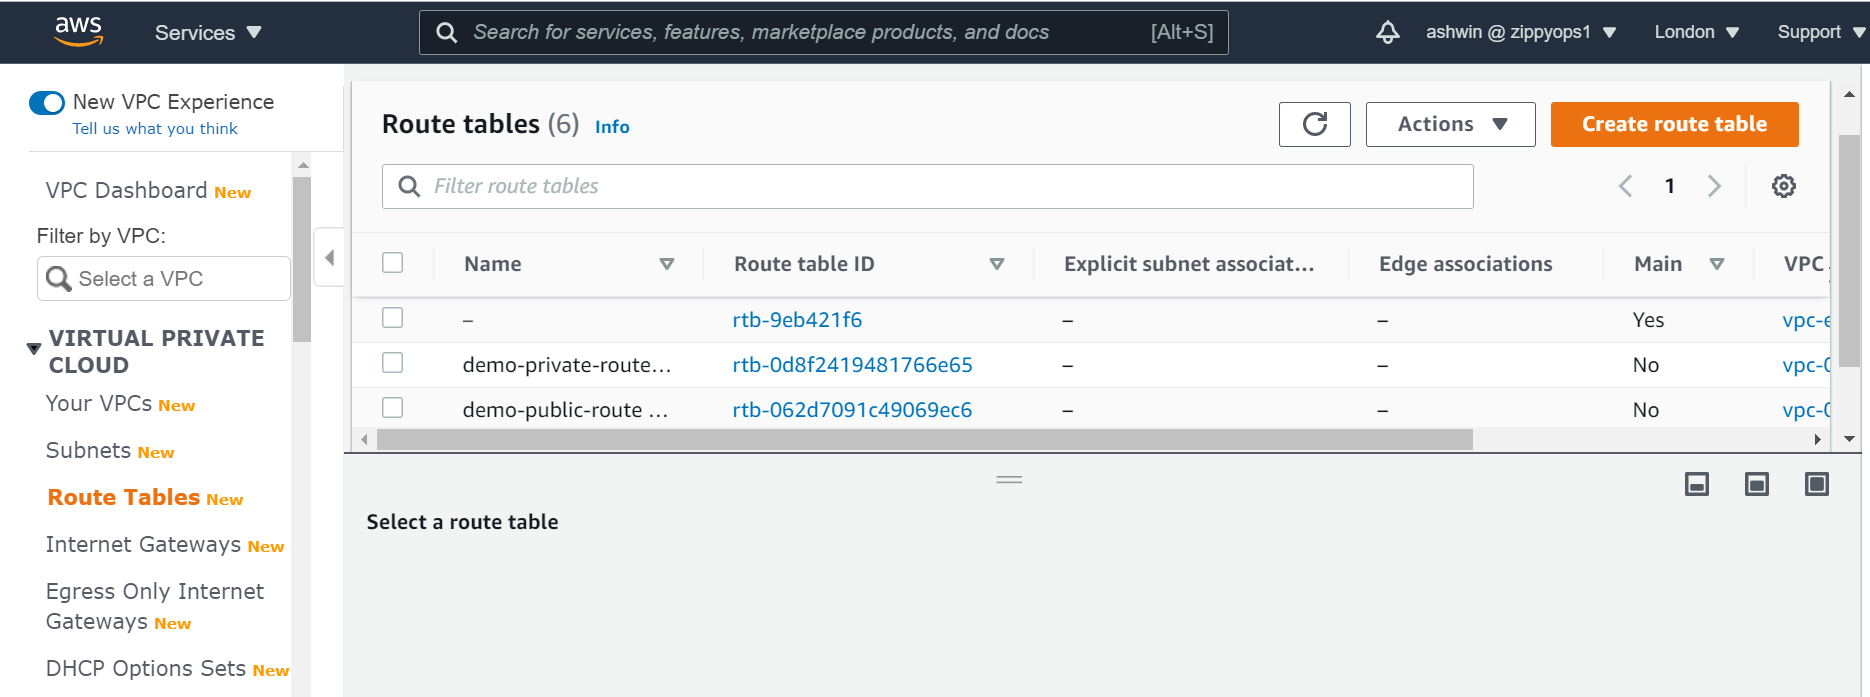
*Create Two Route Tables
Route tables is a set of rule that determines how data moves within our network. We need two route tables; a private route table and a public route table. The public route table will define which subnets will have direct access to the internet ( ie public subnets) while the private route table will define which subnet goes through the NAT gateway (ie private subnet).
To create route tables, navigate over to the Route Tables page and click on Create route table button.
Note: create route table for public and private
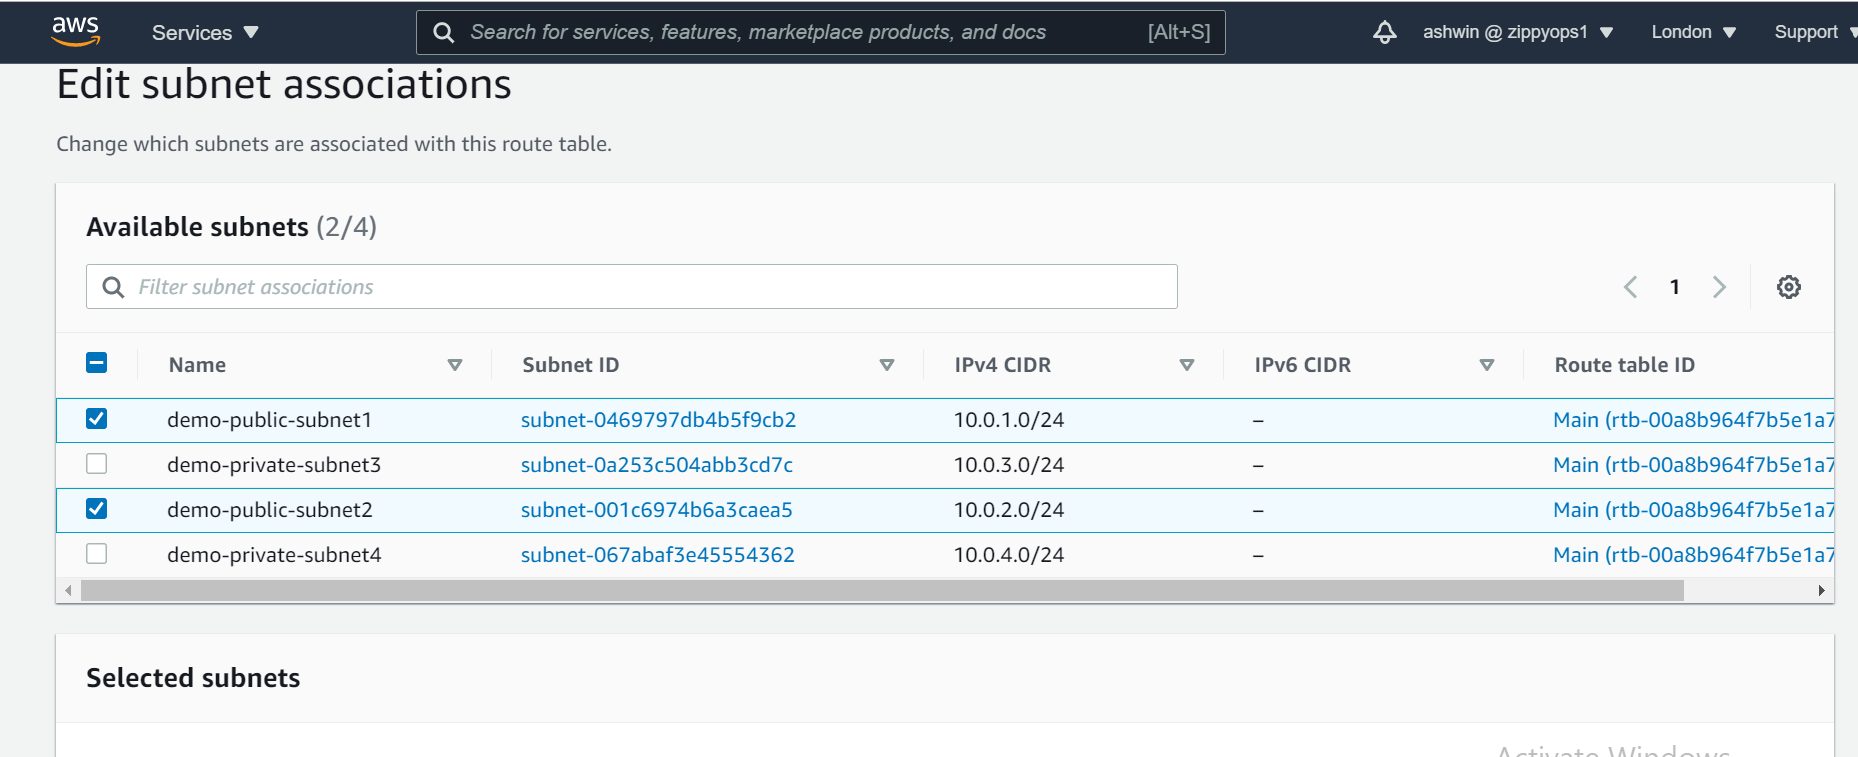
And also the public and the private subnet needs to be associated with the public and the private route table respectively. To do that, we select the route table and then choose the Subnet Association tab.
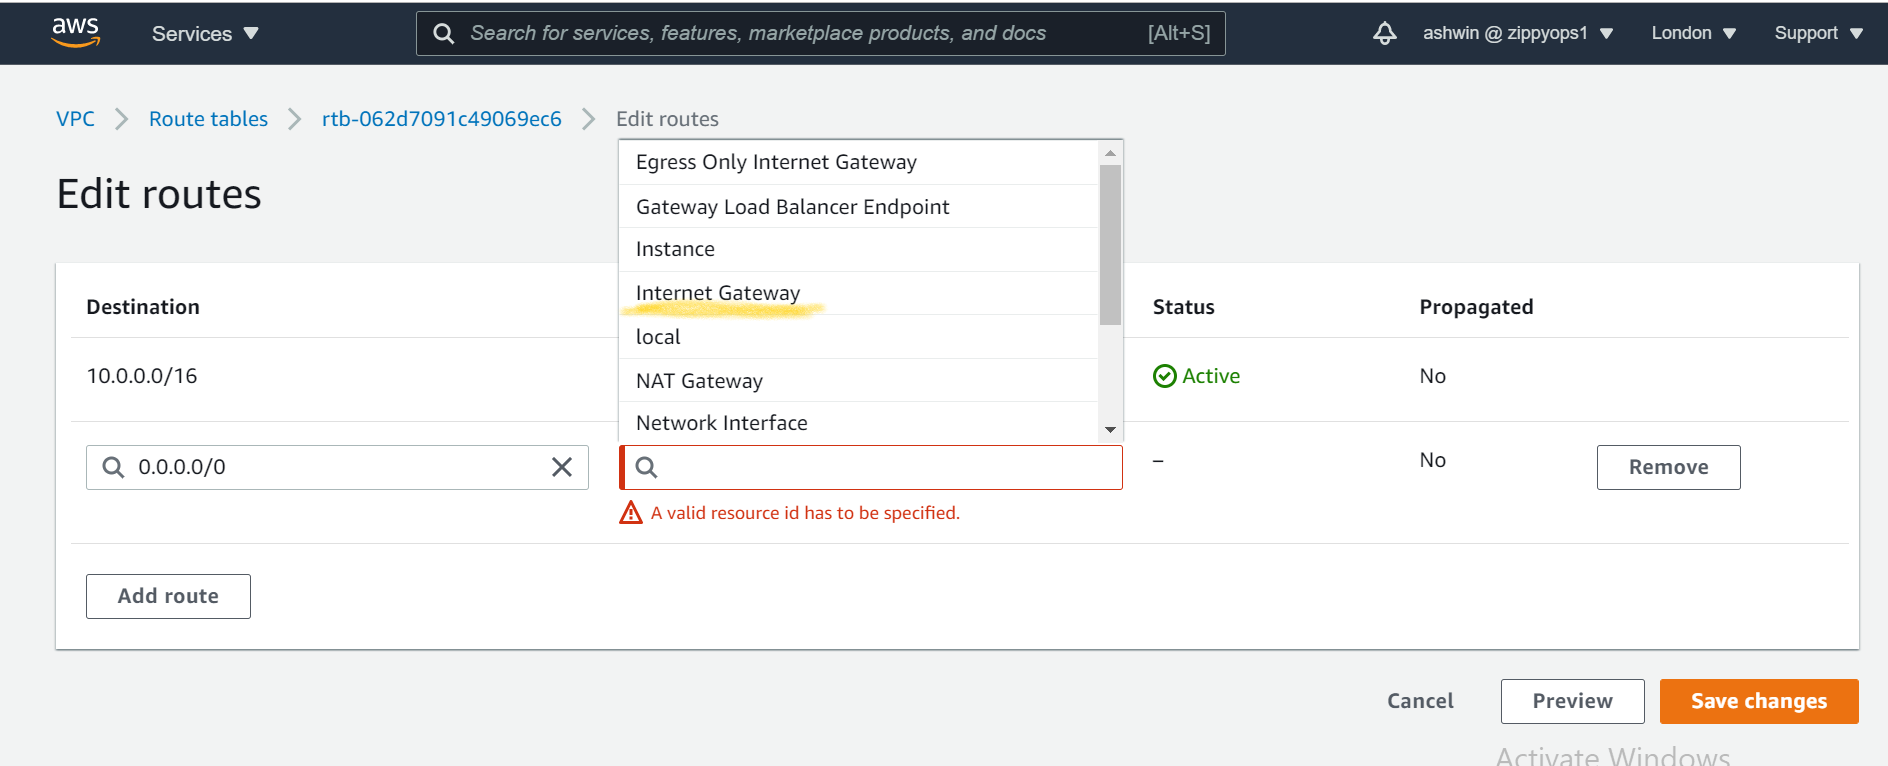
We also need to route the traffic to the internet through the internet gateway for our public route table, To do that we select the public route table and then choose the Routes tab.
*Create the NAT Gateway
The NAT gateway enables the EC2 instances in the private subnet to access the internet. The NAT Gateway is an AWS-managed service for the NAT instance. To create the NAT gateway, navigate to the NAT Gateways page, and then click on the Create NAT Gateway.
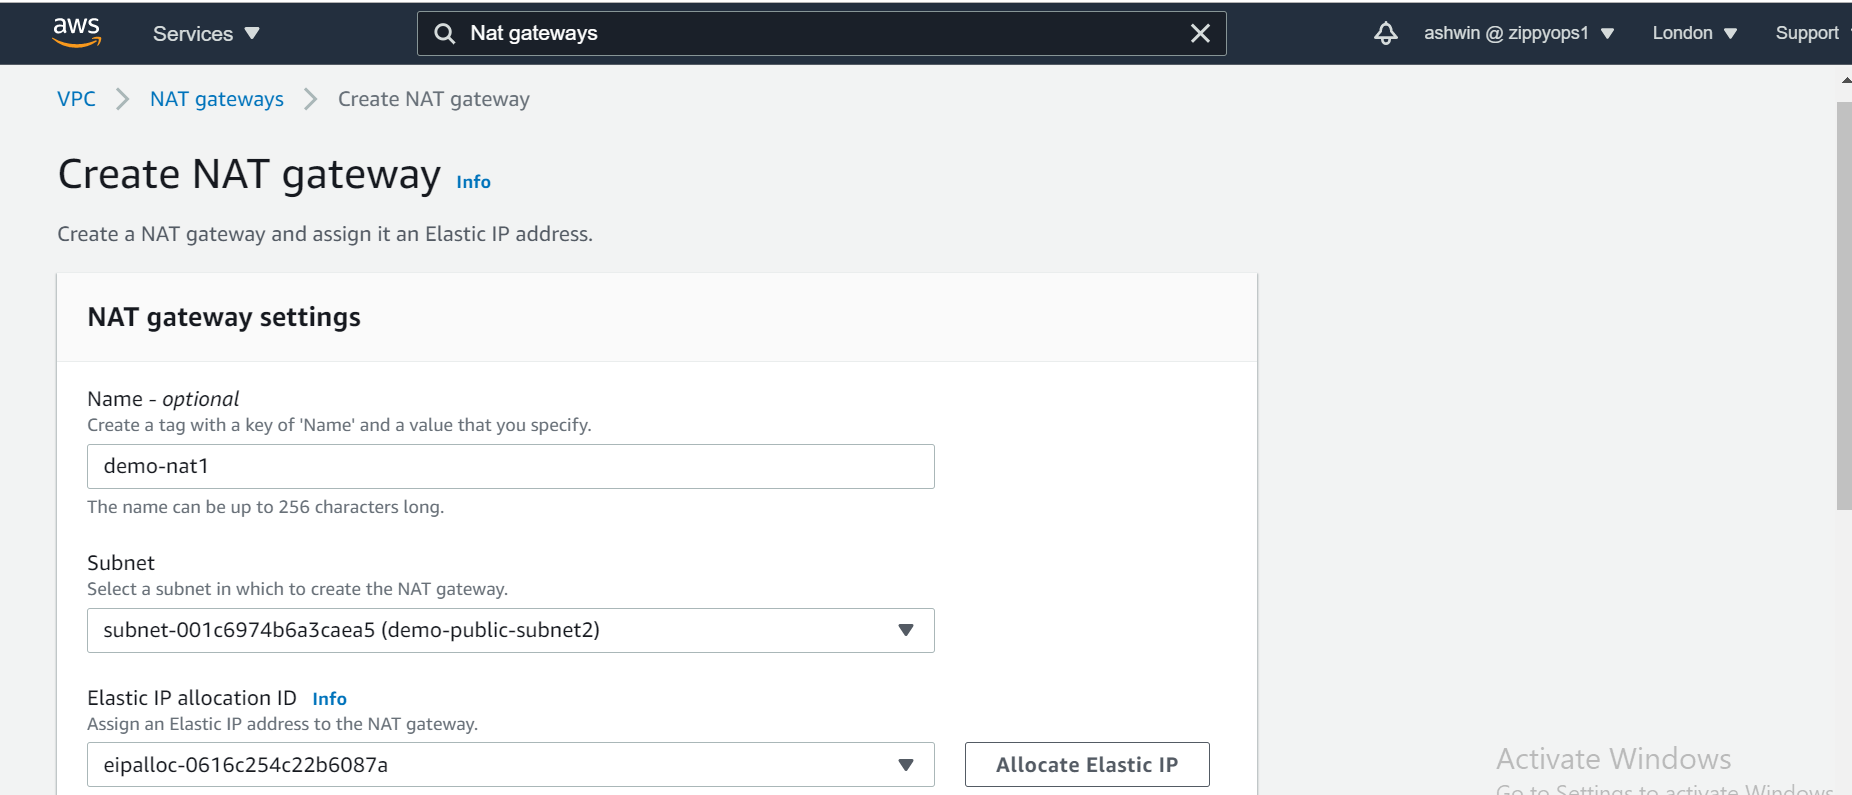
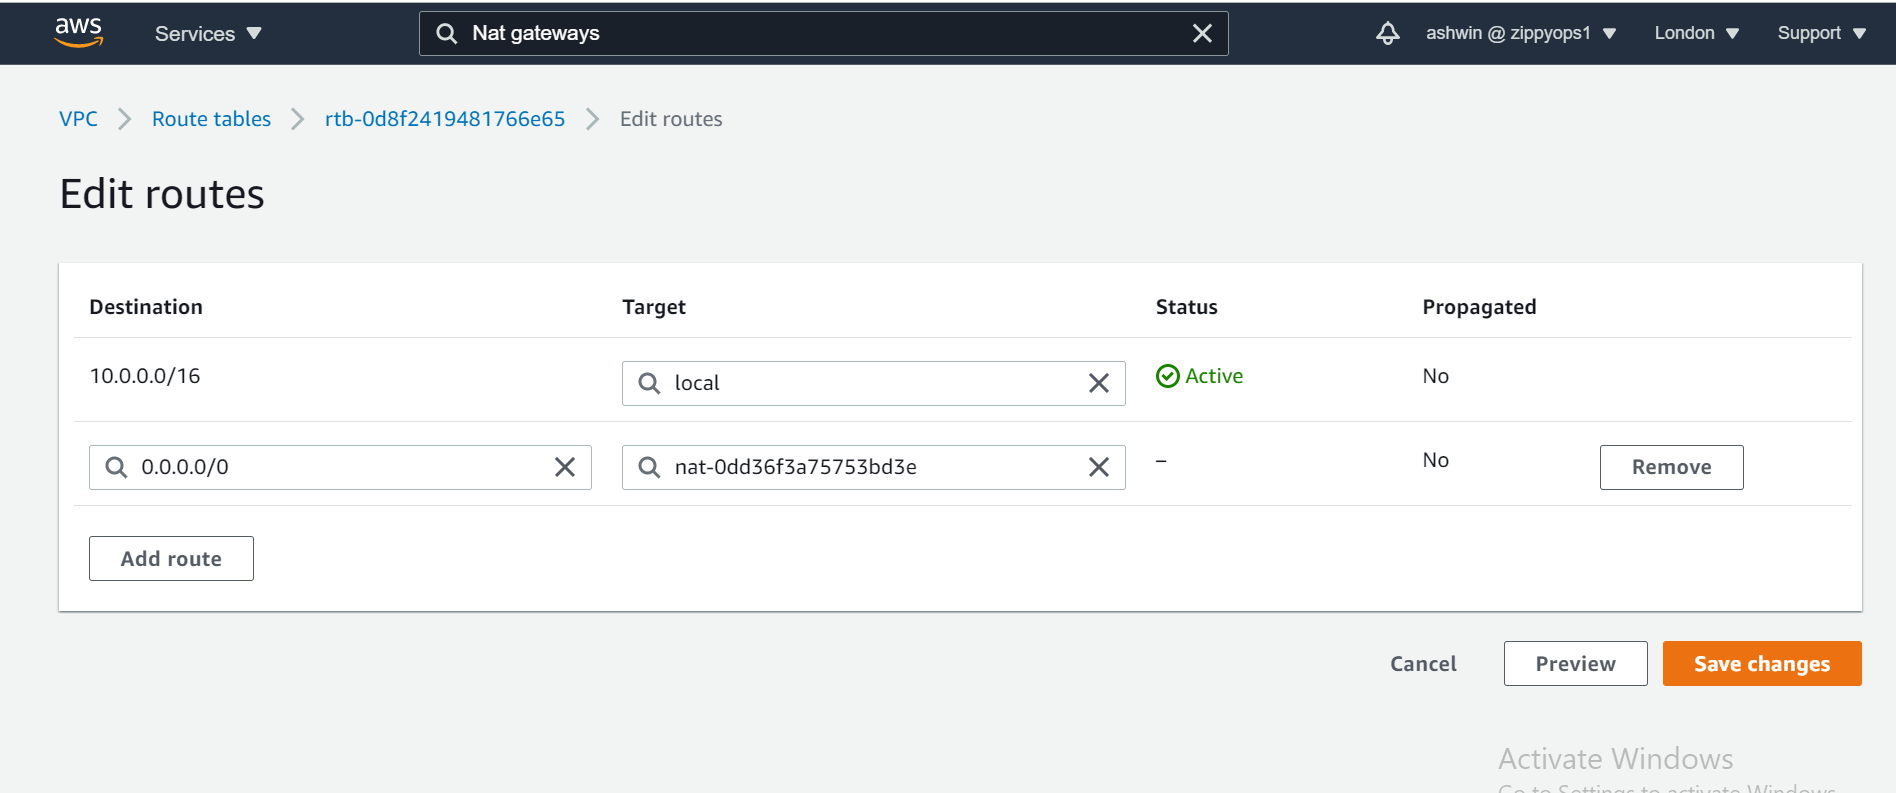
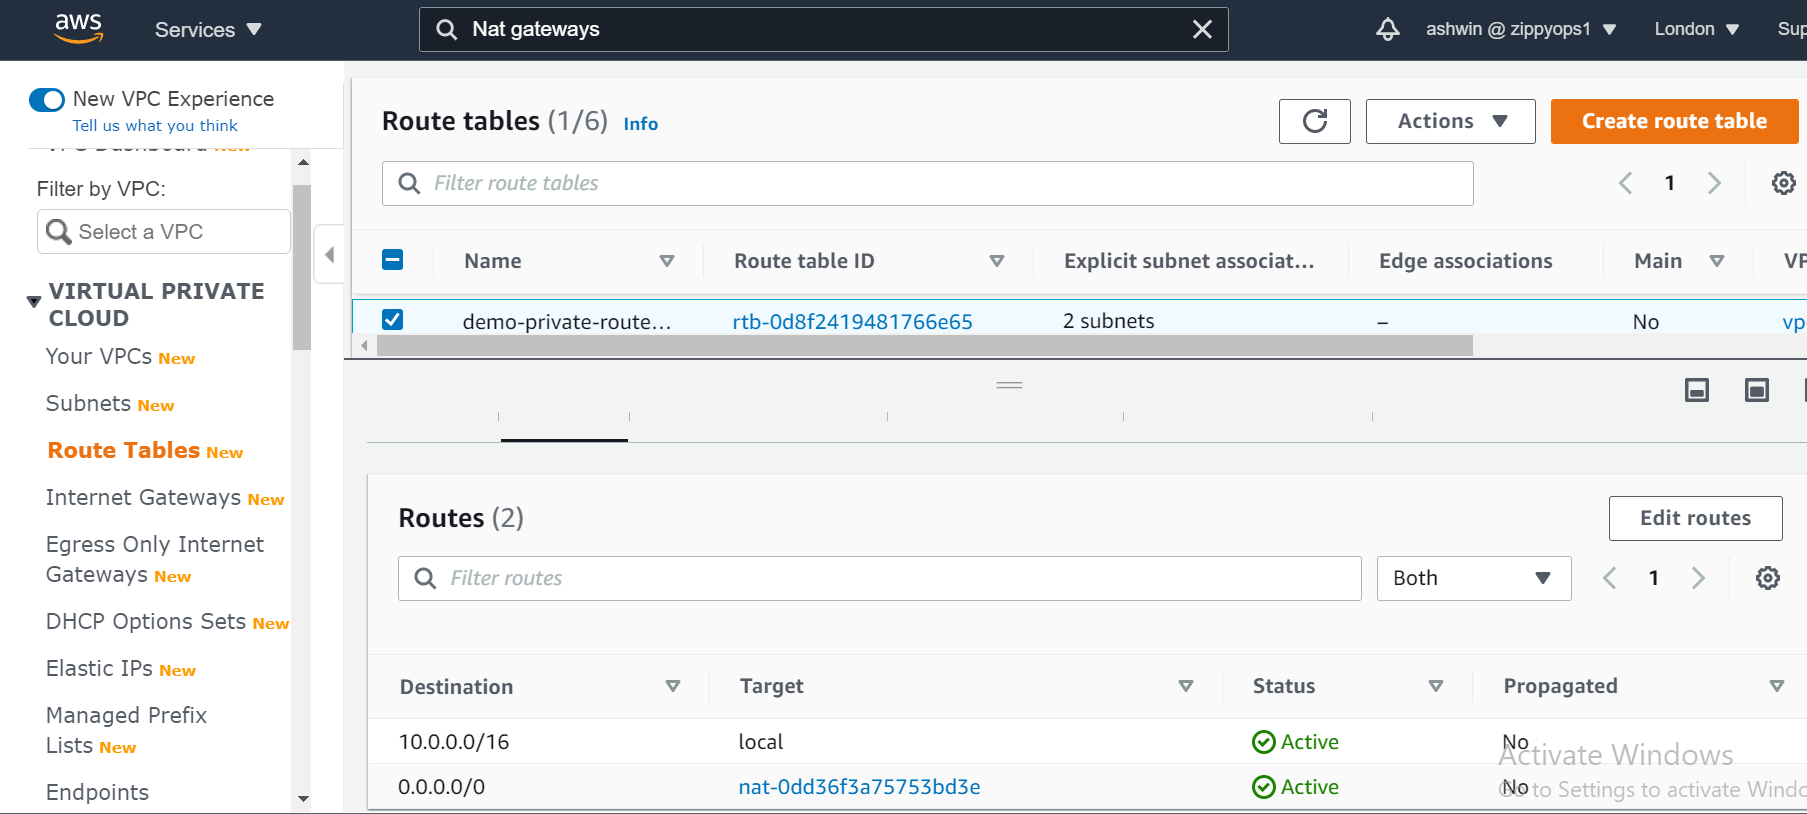
Now that we have the NAT gateway, we are going to edit the private route table to make use of the NAT gateway to access the internet.
*Create Elastic Load Balancer
creating the two load balancers, navigate to the Load Balancer page and click on Create Load Balancer.
*Select the Application Load Balancer.
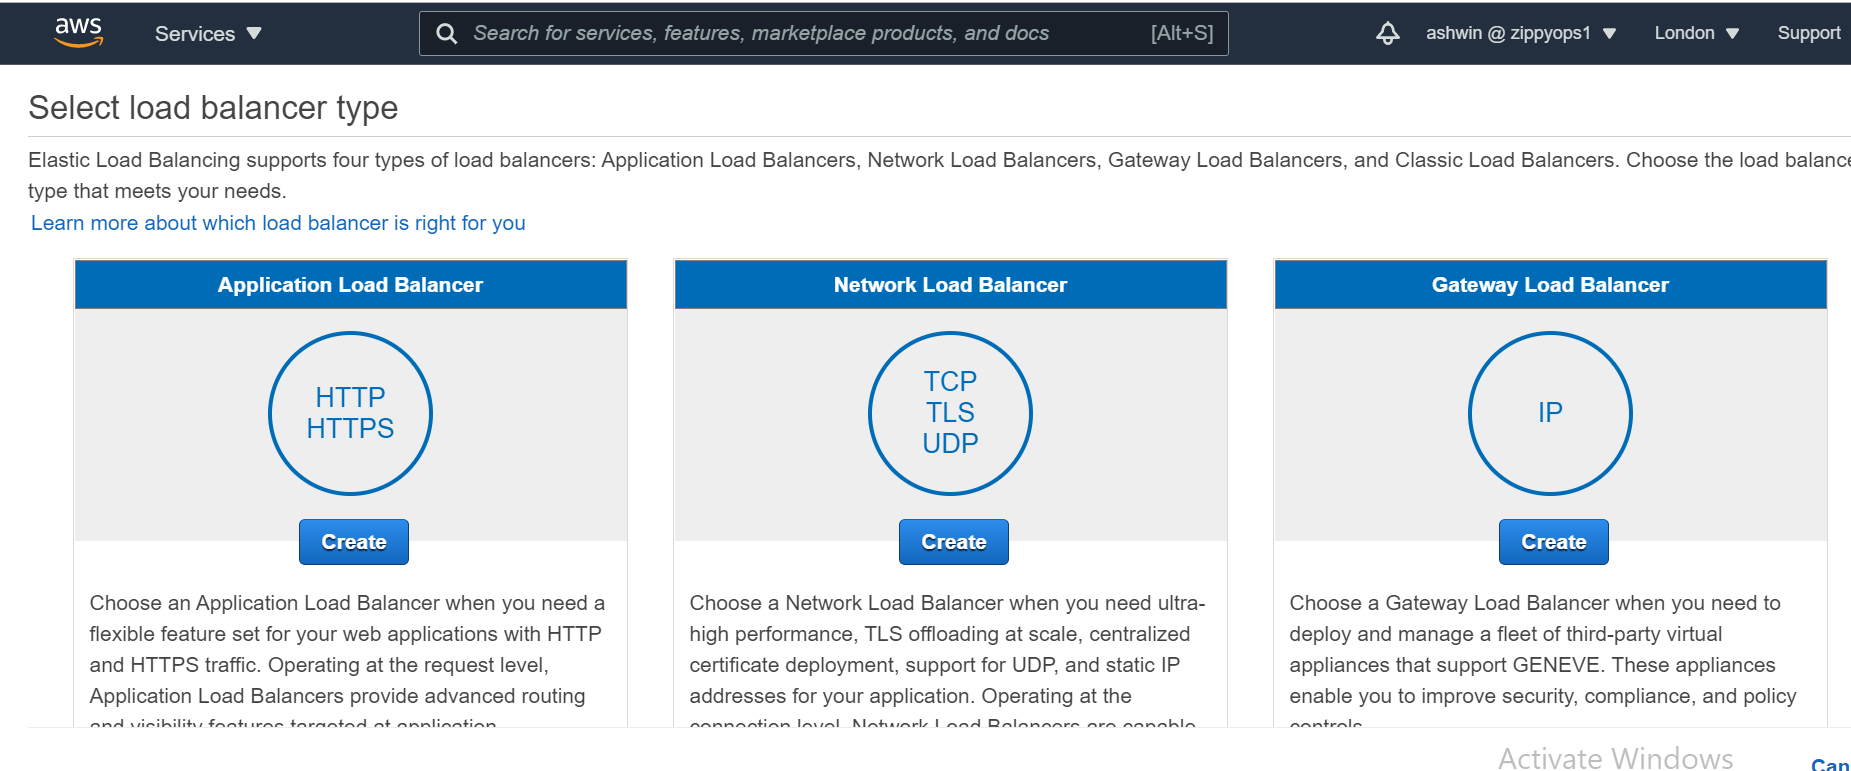
*Click on the Create button
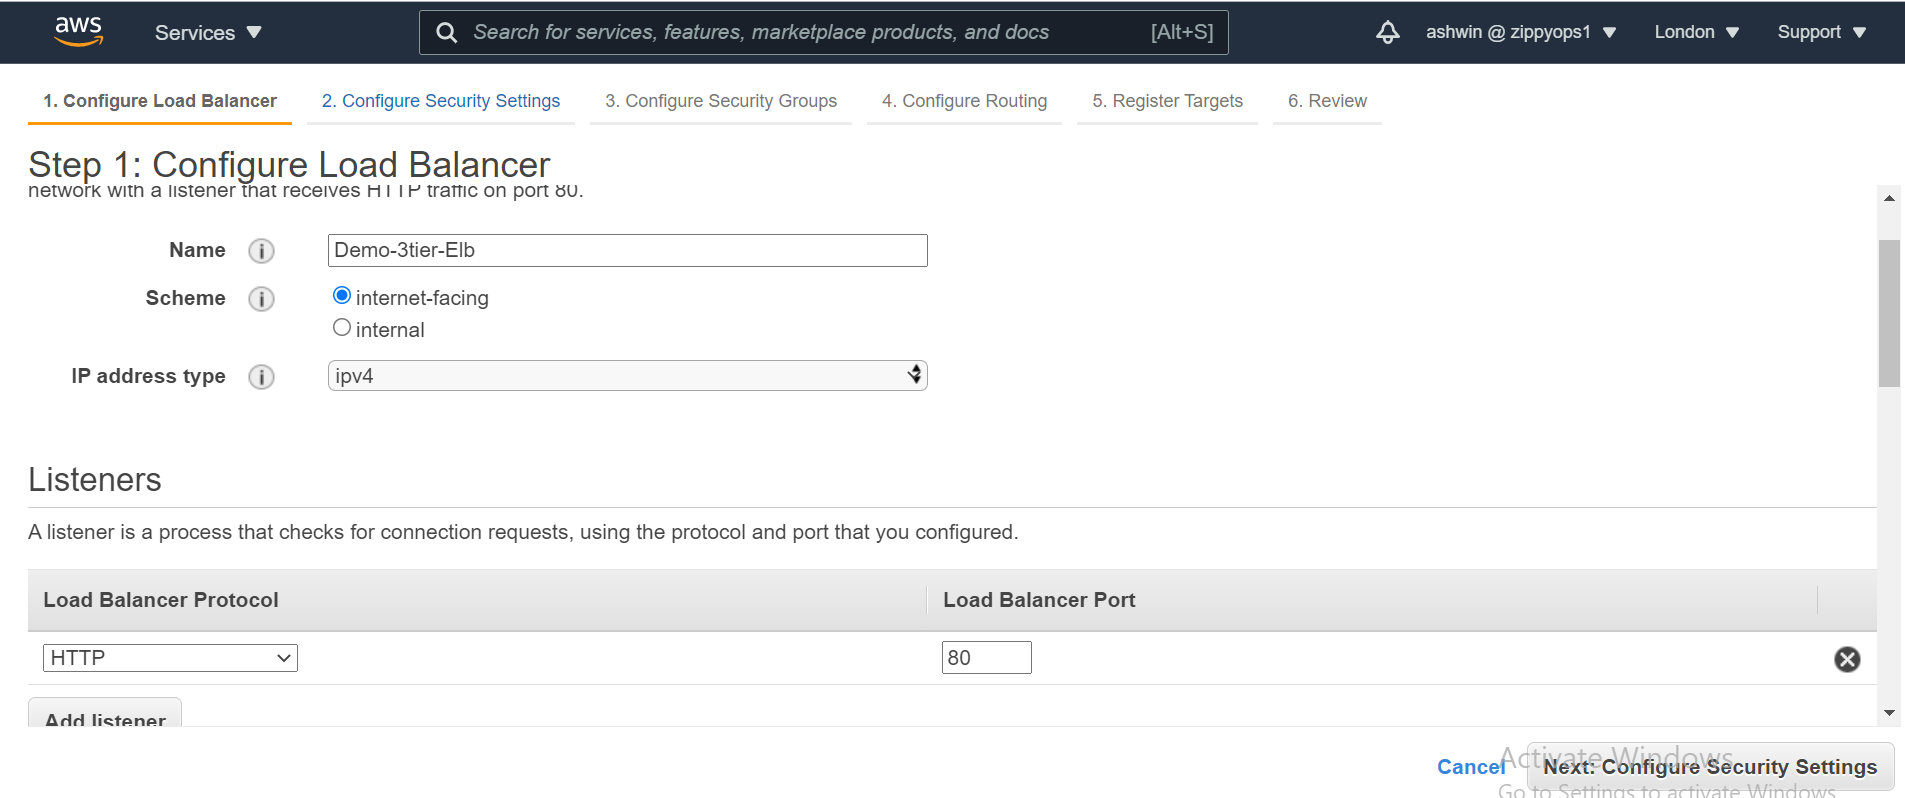
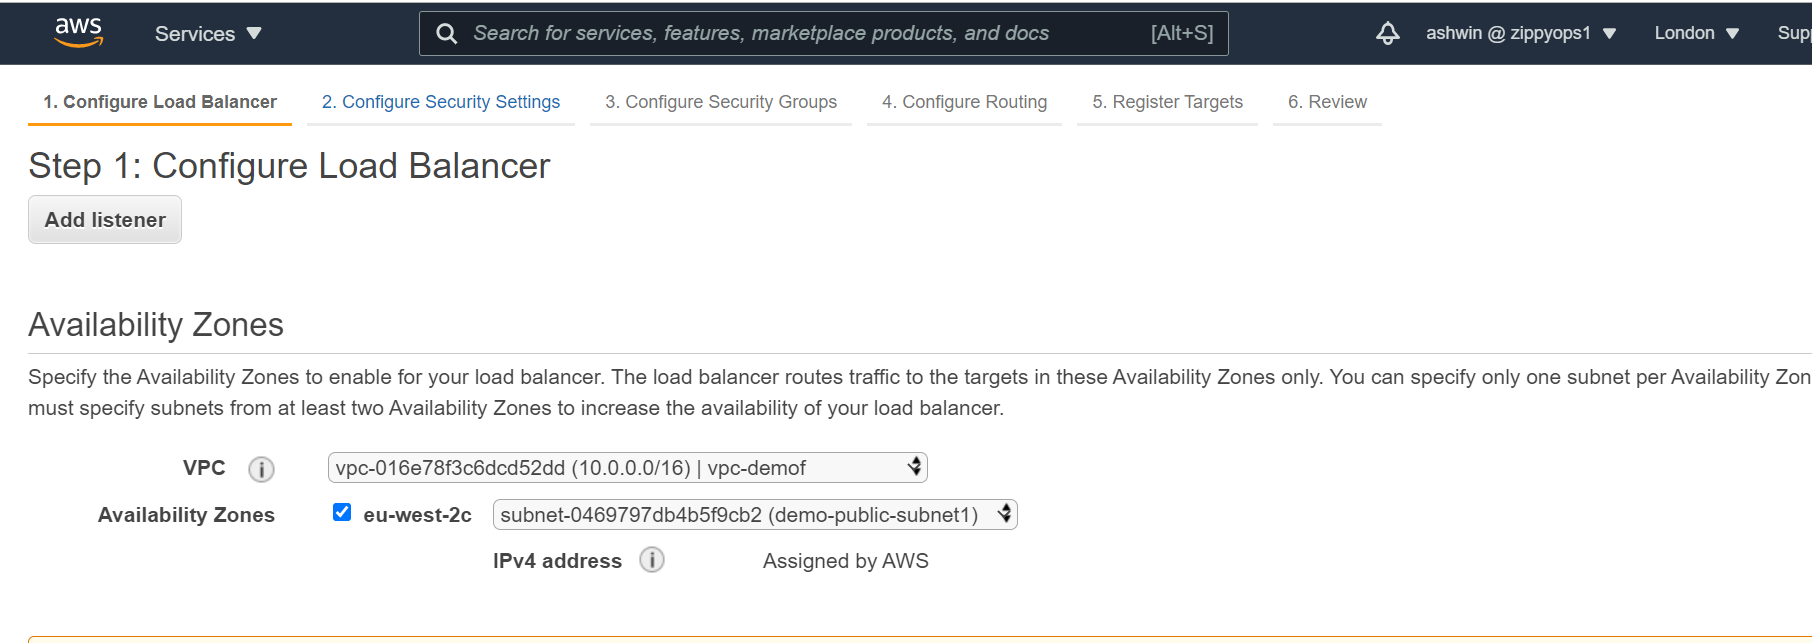
*Configure the Load Balancer with a name. Select internet-facing for the load balancer that we will use to communicate with the frontend and internal for the one we will use for our backend.
*Under the Availability Zone, for the internet-facing Load Balancer, we will select the two public subnets while for our internal Load Balancer, we will select the two private subnet.
*Under the Security Group, we only need to allow ports that the application needs. For instance, we need to allow HTTP port 80 and/or HTTPS port 443 on our internet-facing load balancer. For the internal load balancer, we only open the port that the backend runs on (eg: port 3000), and the make such port only open to the security group of the frontend.
*Under the Configure Routing, we need to configure our Target Group to have the Target type of instance. We will give the Target Group a name that will enable us to identify it. This is will be needed when we will create our Auto Scaling Group.
*Skip the Register Targets and then go ahead and review the configuration and then click on the Create button.
*Auto Scaling Group:
We can simply create two EC2 instances and directly attach these EC2 instances to our load balancer. The problem with that is that our application will no longer scale to accommodate traffic or shrink when there is no traffic to save cost. With Auto Scaling Group, we can achieve this feat. Auto Scaling Group is can automatically adjust the size of the EC2 instances serving the application based on need. This is what makes it a good approach rather than directly attaching the EC2 instances to the load balancer.
To create an Auto Scaling Group, navigate to the Auto Scaling Group page, click on the Create Auto Scaling Group button.
Auto Scaling Group needs to have a common configuration that instances within it MUST have. This common configuration is made possible with the help of the Launch Configuration. In our Launch configuration, under the Choose AMI, the best practice is to choose the AMI which contains the application and its dependencies bundled together. You can also create your custom AMI in AWS.
*Choose the appropriate instance type. For a demo, I recommend you choose t2.micro (free tier eligible) so that you do not incur charges.
Under the Configure details, give the Launch Configuration a name, eg Demo-Frontend-LC. Also, under the Advance Details dropdown, the User data is provided for you to type in a command that is needed to install dependencies and start the application.
*Again under the security group, we want to only allow the ports that are necessary for our application.
*Review the Configuration and Click on Create Launch Configuration button. Go ahead and create a new key pair. Ensure you download it before proceeding.
*Now we have our Launch Configuration, we can finish up with creating our Auto Scaling Group.
*Under the Configure scaling policies, we want to add one instance when the CPU is greater than or equal to 80% and to scale down when the CPU is less than or equal to 50%. Use the image as a template.
*We can now go straight to Review and then Click on the Create Auto Scaling group button. This process is to be done for both the frontend tier and the backend tier but not the data storage tier.
Bastion Host
The bastion host is just an EC2 instance that sits in the public subnet. The best practice is to only allow SSH to this instance from your trusted IP. To create a bastion host, navigate to the EC2 instance page and create an EC2 instance in the demo-public-subnet1 subnet within our VPC. Also, ensure that it has public IP.
Recent Comments
No comments
Leave a Comment
We will be happy to hear what you think about this post