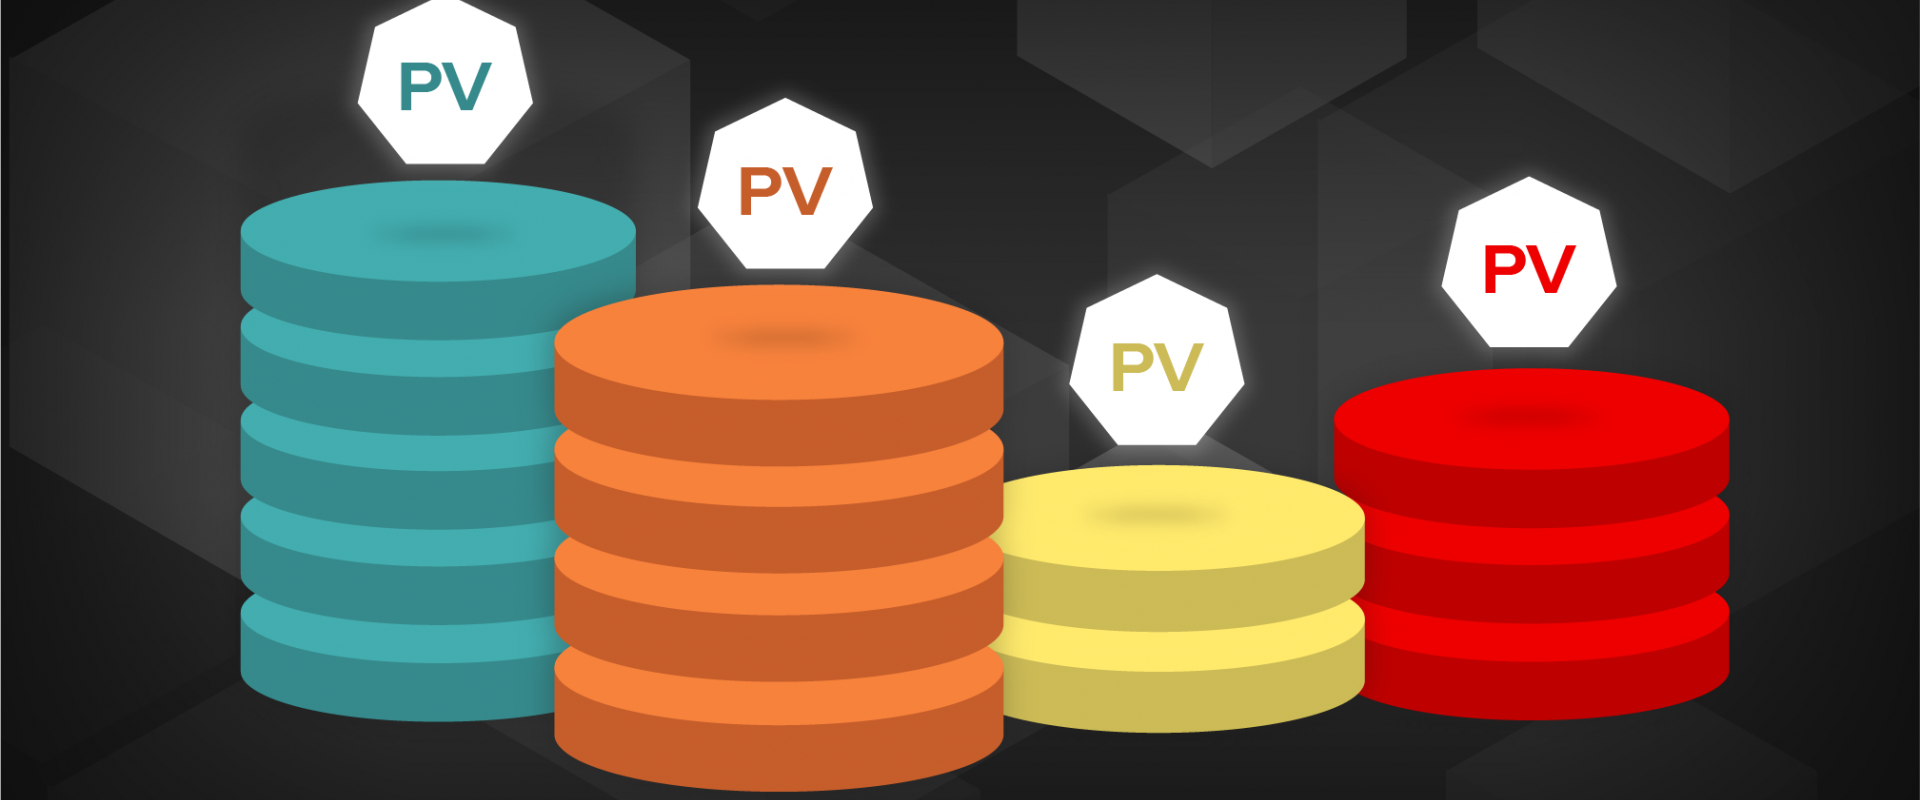
Persistent storage in kubernetes

In Kubernetes, a volume can be thought of as a directory that is accessible to the containers in a pod. We have different types of volumes in Kubernetes and the type defines how the volume is created and it's content. The concept of volume was present with the Docker, however, the only issue was that the volume was very much limited to a particular pod. As soon as the life of a pod ended, the volume was also lost. On the other hand, the volumes that are created through Kubernetes are not limited to any container. It supports any or all the containers deployed inside the pod of Kubernetes. A key advantage of Kubernetes volume is, it supports different kinds of storage wherein the pod can use multiple of them at the same time.
Persistent Volume and Persistent Volume Claim
Persistent Volume (PV)
It’s a piece of network storage that has been provisioned by the administrator. It’s a resource in the cluster which is independent of any individual pod that uses the PV.
Persistent Volume Claim (PVC)
The storage requested by Kubernetes for its pods is known as PVC. The user does not need to know the underlying provisioning. The claims must be created in the same namespace where the pod is created.
Creating Persistent Volume
# cat Persistent-Volume.yaml
apiVersion: v1
kind: PersistentVolume
metadata:
name: pv0001
spec:
capacity:
storage: 10Gi
volumeMode: Filesystem
accessModes:
- ReadWriteOnce
mountOptions:
- hard
- nfsvers=4.1
nfs:
path: /tmp
server: 172.17.0.2
Using kubectl, let’s launch our persistent volume into Kubernetes.
# kubectl create -f Persistent-Volume.yaml
persistentvolume "pv0001" created
# kubectl get pv
NAME CAPACITY ACCESS MODES RECLAIM POLICY STATUS CLAIM STORAGECLASS REASON AGE
pv0001 10Gi RWO Retain Bound default/myclaim-1 5m40s
After the persistent volume is created, we can create the persistent volume claim, which claims the persistent volume that was just created.
# catPersistentVolumeClaim.yaml
apiVersion: v1
kind: PersistentVolumeClaim
metadata:
name: myclaim-1
spec:
accessModes:
- ReadWriteOnce
resources:
requests:
storage: 3Gi
Using kubectl, let’s launch our persistent volume into Kubernetes
# kubectl create -f PersistentVolumeClaim.yaml
persistentvolumeclaim "myclaim-1" created
After creating both the persistent volume and persistent volume claim, we can confirm that the persistent volume is bound.
# kubectl get pvc
NAME STATUS VOLUME CAPACITY ACCESS MODES STORAGECLASS AGE
myclaim-1 Bound pv0001 10Gi RWO 4h2m
Now that the persistent volume claim has been created, we can start creating pods that will use the persistent volume claim and the pods will have the same data.
# catpv-pvc.yaml
apiVersion: v1
kind: Pod
metadata:
name: mypod
labels:
name: frontendhttp
spec:
containers:
- name: myfrontend
image: nginx
ports:
- containerPort: 80
name: "http-server"
volumeMounts:
- mountPath: "/usr/share/tomcat/html"
name: mypd
volumes:
- name: mypd
persistentVolumeClaim:
claimName: myclaim-1
Let's create pv and pvcpod
# kubectl create -f pv-pvc.yaml
pod "mypod" created
Describe pod:
# kubectl get pods
NAME READY STATUS RESTARTS AGE
mypod 1/1 Running 0 2m
Recent Comments
No comments
Leave a Comment
We will be happy to hear what you think about this post