Zabbix Installation and configuration

Setup Apache, PHP & MySQL / MariaDB
Install and Configure Apache httpd Server
Install Apache Web Server for CentOS 7 server by running the command
#cat /etc/selinux/config
SELINUX=disabled
#yum install httpd -y
Install and Update apache from the following configuration file path /etc/httpd/conf/ httpd.conf, then restart the apache service as follows
# vim /etc/httpd/conf/httpd.conf
86 ServerAdmin [email protected] <!-- Mail ID -->
96 ServerName zabbix.zippyops.com <!-- Servername -->
#systemctl restart httpd
Install and Configure PHP
Install PHP on CentOS 7 server and extensions required by Zabbix as follows
#yum install epel-release -y
#yum install php php-pear php-cgi php-common php-mbstring php-snmp php-gd php-xml php-mysql php-gettext php-bcmath
#php --version
PHP 5.4.16 (cli) (built: Apr 1 2020 04:07:17)
Copyright (c) 1997-2013 The PHP Group
Zend Engine v2.4.0, Copyright (c) 1998-2013 Zend Technologies
Install and Configure Database Server
MySQL 8.0 Repository SetUp
To start installing MySQL Server on CentOS 7, first add the official MySQL community repository to the system and run the below commands:
#yum install https://dev.mysql.com/get/mysql80-community-release-el7-1.noarch.rpm
Now the repo is added, install the MySQL 8 without editing repository content since repo for 8.0 is enabled by default.
#yum --enablerepo=mysql80-community install mysql-community-server
Now start the MySQL service using the following command:
#systemctl enable mysqld.service
#systemctl start mysqld.service
MySQL Root Password Setup
Installation of MySQL on CentOS 7 will generate a temporary password:
# grep 'temporary password' /var/log/mysqld.log
2021-06-02T10:34:01.843855Z 6 [Note] [MY-010454] [Server] A temporary password is generated for root@localhost: ose<>IHIj2w=
# mysql_secure_installation
Securing the MySQL server deployment.
Enter password for user root: (SyWht_th5k4
The existing password for the user account root has expired. Please set a new password.
New password: Zabbix@123 <-- Set the new password for MySQL -->
Re-enter new password: Zabbix@123
The 'validate_password' component is installed on the server.
The subsequent steps will run with the existing configuration of the component.
Remove test database and access to it? (Press y|Y for Yes, any other key for No) : y
- Dropping test database...
Success.
- Removing privileges on test database...
Success.
Reloading the privilege tables will ensure that all changes made so far will take effect immediately.
Reload privilege tables now? (Press y|Y for Yes, any other key for No) : y
Success.
All done!
Test the MySQL Setup
After Installing and completing the configuration, connect to MySql server using the following command.
# mysql -u root -p
Enter Password: Zabbix@123
mysql> CREATE DATABASE zabbixdb character set utf8 collate utf8_bin;
Query OK, 1 row affected (0.00 sec)
mysql> use zabbixdb
Database changed
mysql> CREATE USER 'zabbixadmin'@'%' IDENTIFIED WITH mysql_native_password BY 'User@123';
Query OK, 0 rows affected (0.07 sec)
mysql> GRANT ALL PRIVILEGES ON *.* TO 'zabbixadmin'@'%' WITH GRANT OPTION;
Query OK, 0 rows affected (0.07 sec)
mysql> FLUSH PRIVILEGES;
mysql> show databases;
mysql> quit;
# mysql -V
Mysql Ver 8.0.13 for Linux on x86_64 (MySQL Community Server - GPL)
#service mysqld restart
Setup zabbix 4.0 server
Now start the installation by deploying Zabbix 4.0 server by adding the Zabbix repository. To install Zabbix server, Zabbix proxy & Zabbix frontend with MySQL support using the following command:
#rpm -ivh https://repo.zabbix.com/zabbix/4.0/rhel/7/x86_64/zabbix-release-4.0-1.el7.noarch.rpm
#yum install zabbix-server-mysql zabbix-proxy-mysql zabbix-web-mysql
Setup Zabbix Apache Configuration
Zabbix creates its own apache configuration file /etc/httpd/conf.d/zabbix.conf.
Some PHP settings are already configured, but it’s necessary to uncomment the “date.timezone” setting and set the right timezone for you
#cat /etc/httpd/conf.d/Zabbix.conf
php_value date.timezone Asia/Kolkata
Import Zabbix Server DataBase Schema
Import initial schema & data for the server with MySQL by using the following commands:
#zcat /usr/share/doc/zabbix-server-mysql*/create.sql.gz | mysql -u zabbixadmin <--- DB Username ---> -p zabbixdb <---(DB Name) -->
Enter password: User@123
Edit Zabbix Server Config File
Edit the Zabbix server configuration file /etc/zabbix/zabbix_server.conf and set database connection settings and start the Zabbix-server service.
#vim /etc/zabbix/zabbix_server.conf
DBHost=localhost
DBName=zabbixdb
DBUser=zabbixadmin
DBPassword=User@123
AlertScriptsPath=/usr/lib/Zabbix/alertscripts <--Alert Msg sent to any media using script-->
#systemctl start zabbix-server
#systemctl enable zabbix-server
Open the Required Port using Firewall
Diisable the SELinux and restart the server, then open the required port by using the following command:
#firewall-cmd --zone=public --add-port={10050/tcp,10051/tcp} --permanent
#firewall-cmd --zone=public --add-port=80/tcp --permanent
#firewall-cmd --reload
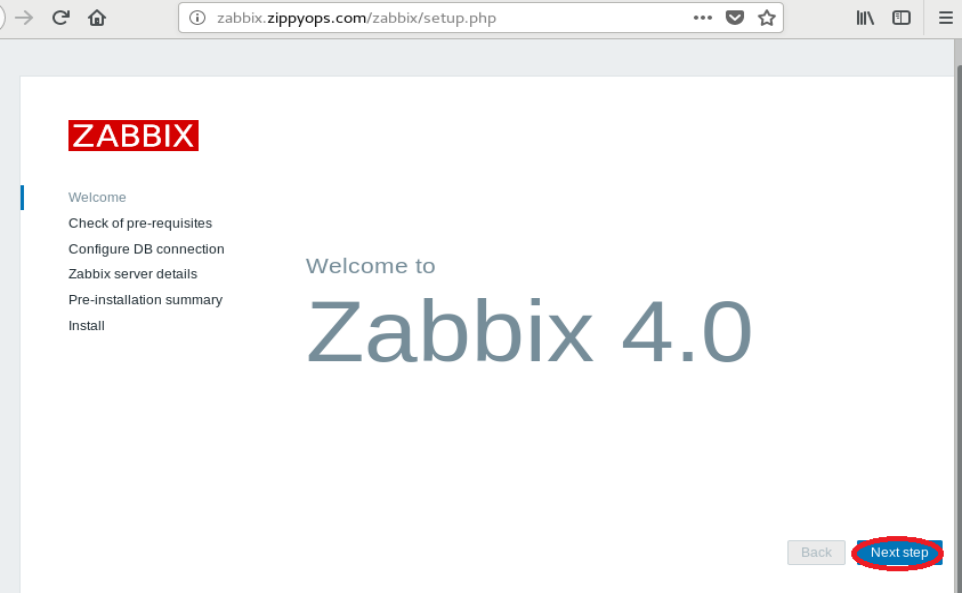
Perform Zabbix Initial Setup with Welcome Screen
After completing the setup, let’s start the Zabbix server using the following command.
After starting the Zabbix service, let’s go to the Zabbix web installer and finish the installation.
#http://zabbix.zippyops.com/zabbix/
This is the welcome screen of the Zabbix web installer. Go forward by click on the next button.
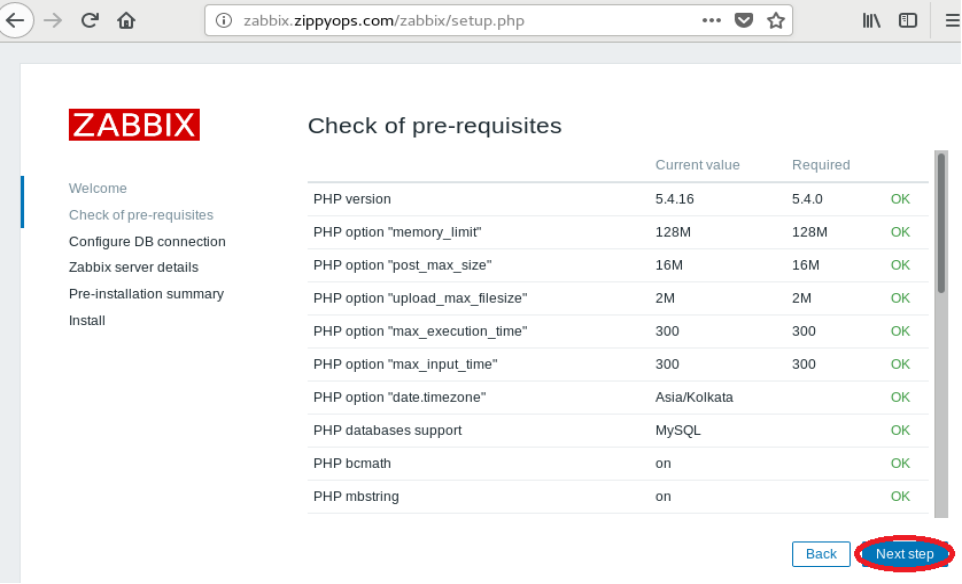
Check if the system has all required packages, if everything is ok click next.
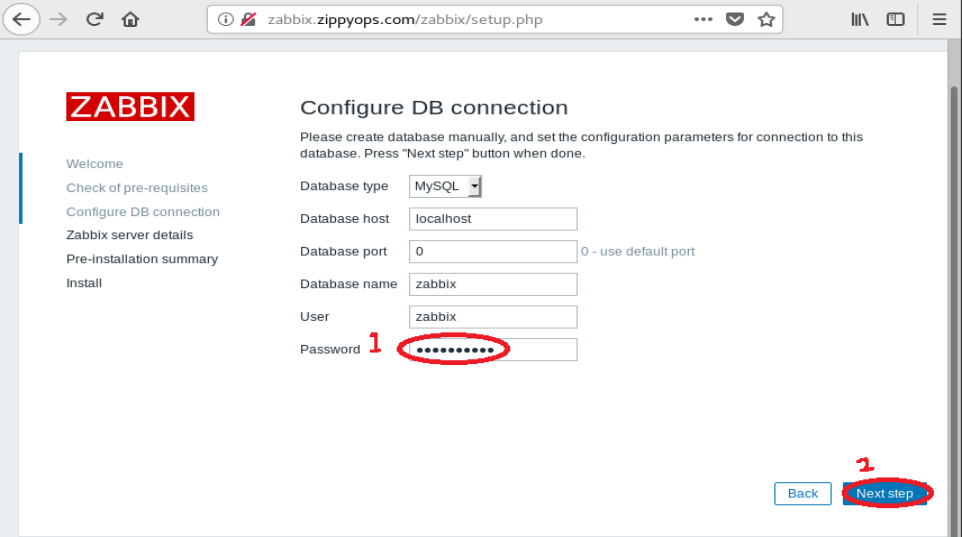
Configure Database Settings
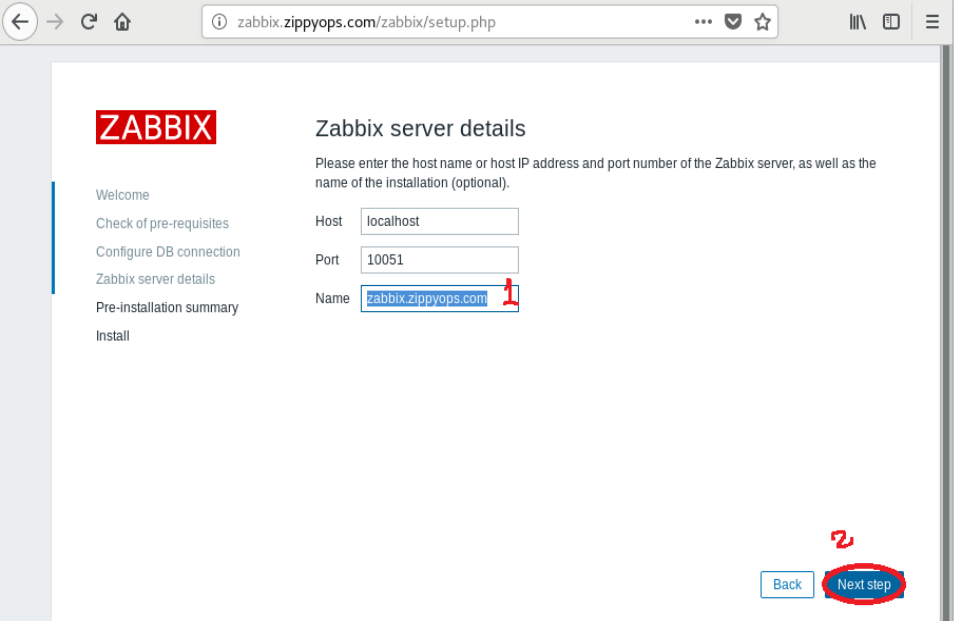
Fill the Zabbix server Name on the required field as shown below:
Now, it will show the summary of the Pre-installation steps, then click next.

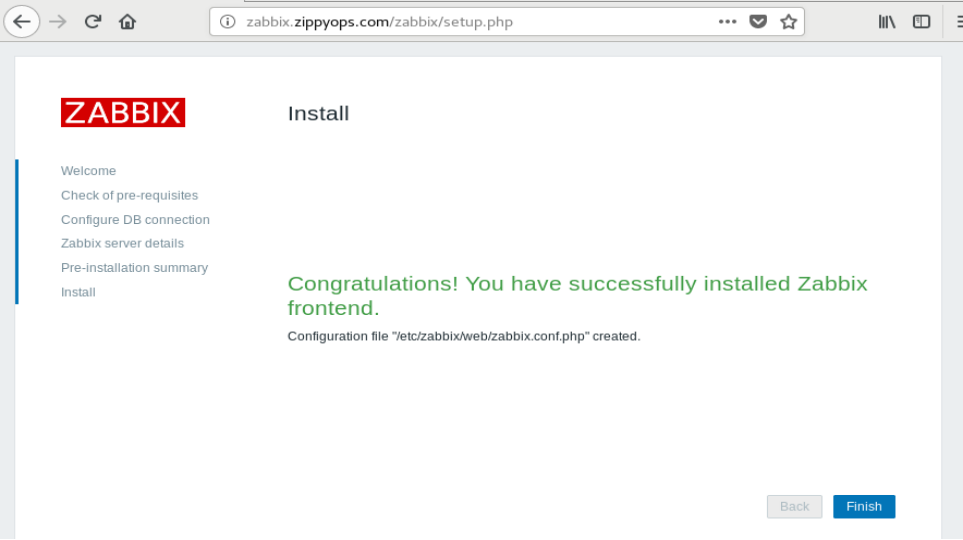
If everything goes correctly, see a successful installation message is showing on this page. This will also show a message for created configuration file.
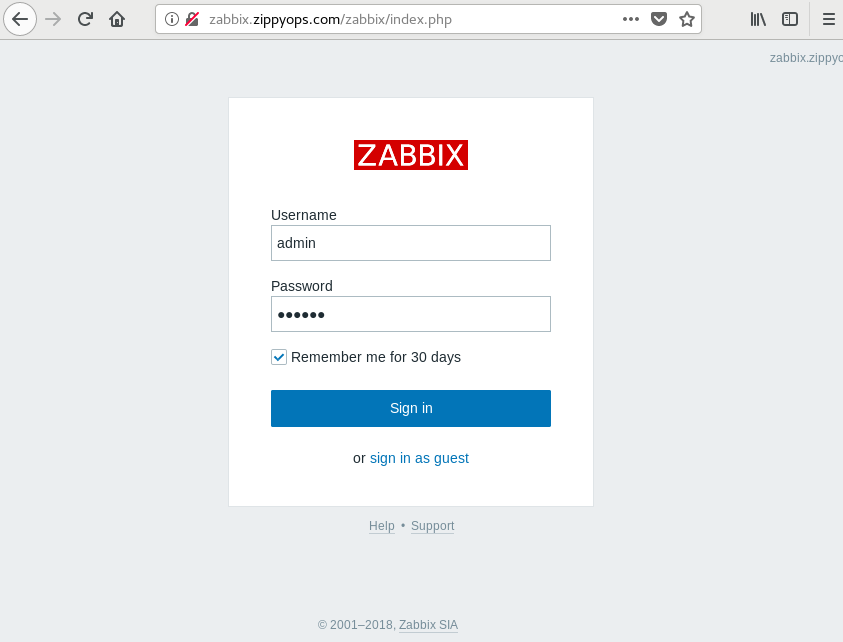
Login to Zabbix using default credentials. Username: admin Password: zabbix.
After successful login, the Zabbix dashboard will appear as shown below.
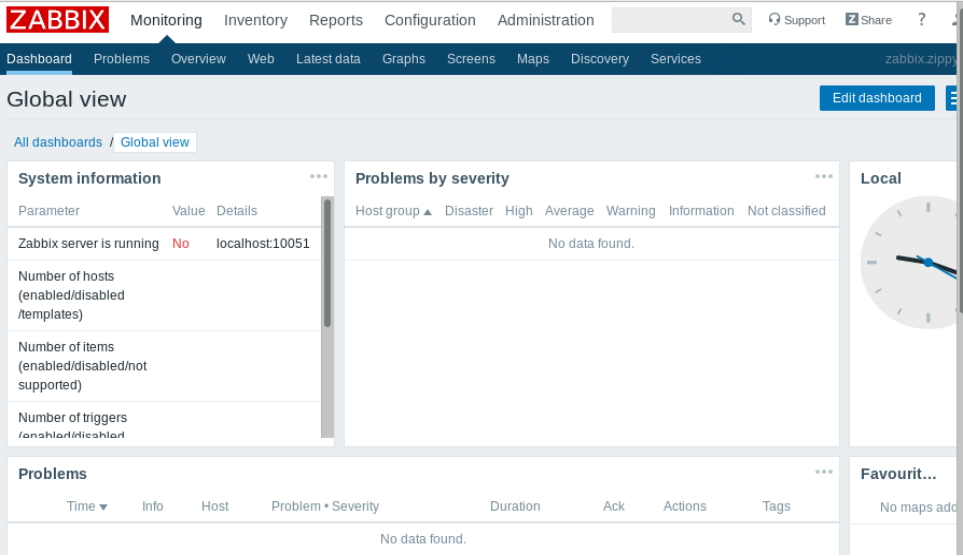
Zabbix server setup has been completed.
Relevant Blogs:
Recent Comments
No comments
Leave a Comment
We will be happy to hear what you think about this post