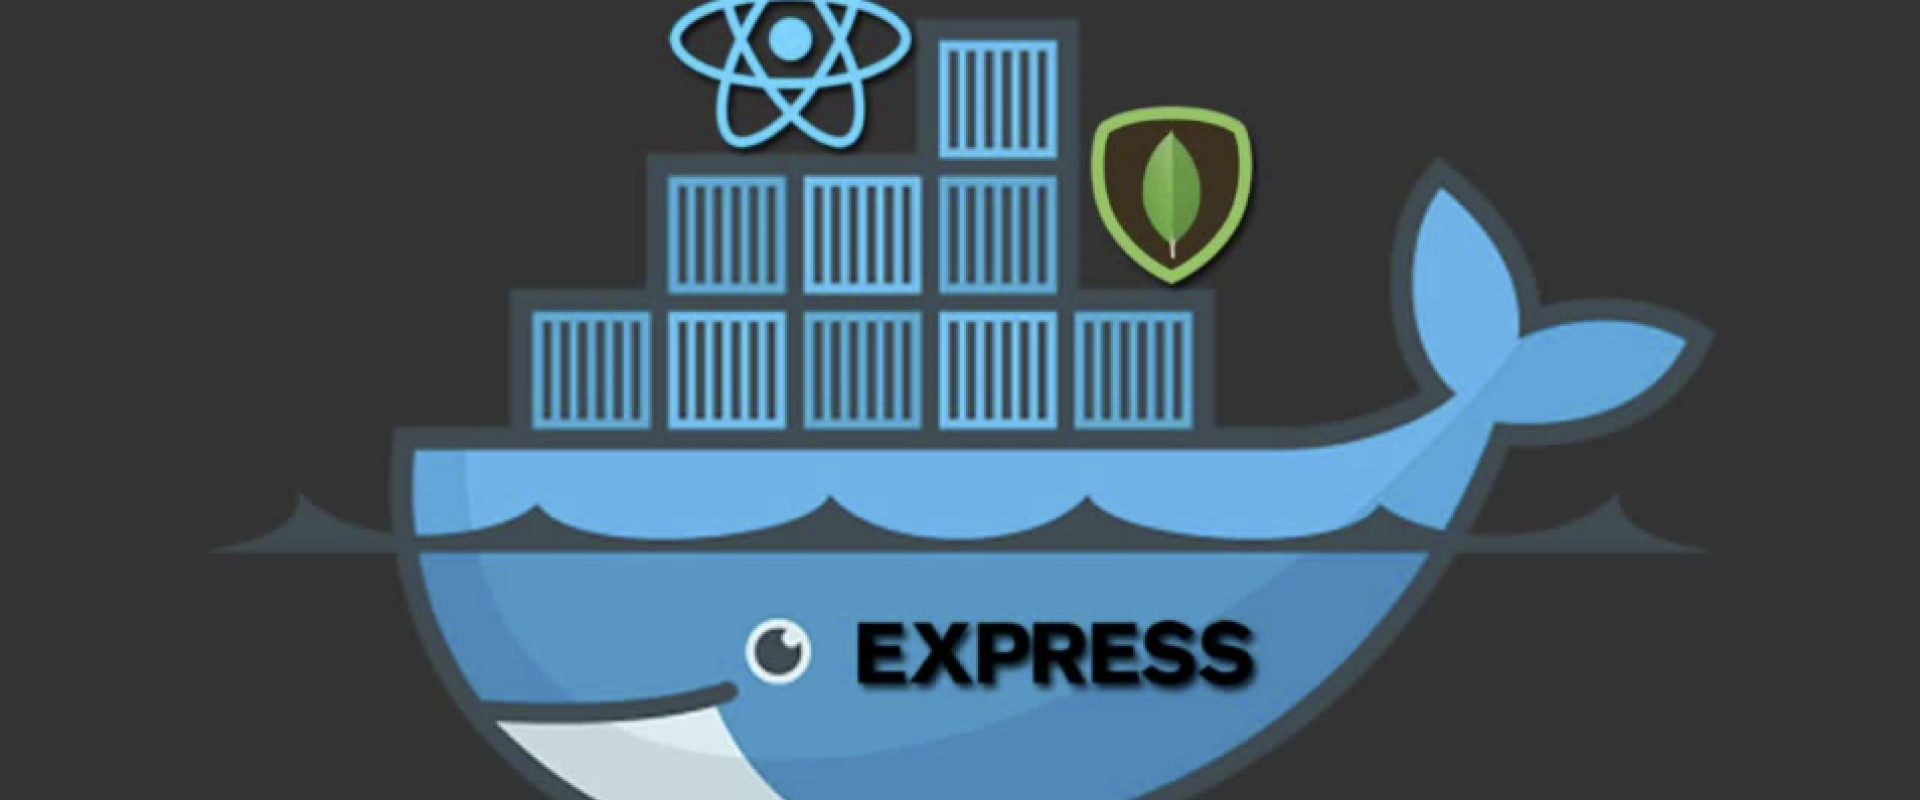
Dockerizing a MERN Stack Web Application

Learn how to dockerize an entire MERN Stack application.
The MERN stack is becoming increasingly popular and could be a powerful stack to figure in. Therefore having the ability to build and deploy good MERN applications, greatly helps career prospects as a developer.
What Is the MERN Stack?
The MERN stack is a JavaScript stack that is designed to make the development process smoother. MERN includes four open-source components: MongoDB, Express, React, and Node.js. These components offer an associate end-to-end framework for developers to work in.
A Closer Look at MERN Stack Components
MongoDB: A Cross-Platform Document Database
MongoDB is a NoSQL (non-relational) document-oriented database. Data is stored in flexible documents with a JSON (JavaScript Object Notation)-based query language. MongoDB is known for being flexible and easy to scale.
Express: A Back-End Web Application Framework
Express is a web application framework for Node.js, another MERN component. Instead of writing full web server code by hand on Node.js directly, developers use Express to simplify the task of writing server code.
React: A JavaScript Library for Building User Interfaces
React was originally created by a software engineer at Facebook, and was later open-sourced. The React library can be used for creating views rendered in HTML. In a way, it’s the defining feature of the stack.
Node.JS: A Cross-Platform JavaScript Runtime Environment
Node.js is constructed on Chrome’s V8 JavaScript engine. It’s designed to build scalable network applications and can execute JavaScript code outside of a browser.
Before we understand the utility of Docker, let’s first learn about Containers.
What Is a Container?
“A container is the standard unit of software that packages up code and all its dependencies so the application runs quickly and reliably from one computing environment to another. ”
A Docker container image is a lightweight, standalone, executable package of software that includes everything needed to run an application: code, runtime, system tools, system libraries and settings. Container images become containers at runtime and in the case of Docker containers — images become containers when they run on Docker Engine.
Docker Hub
Docker Hub is a cloud-based registry service for storing and sharing Docker images. It allows users to create, manage, and distribute Docker images and containers, as well as collaborate and integrate with other tools and platforms. Docker Hub provides a central repository for sharing and distributing Docker images and containers, as well as a platform for collaboration and integration with other tools and services. It enables users to quickly and easily find and pull the images they need to run their applications, and to share their own images with others.
Getting Started With the Integration
Our main focus in this tutorial is understanding how to integrate Docker with a MERN Stack Application. For explaining this, let’s try to dockerize an E-Commerce Web Application.
You can download the basic E-Commerce Web App from this Github Link.
Overview
We are going to Dockerize Node.JS, React, and MongoDB into separate containers. Then we are going to use Docker Compose to run the multi-container application.
At last, from a single command, we can create and start all the services from our configuration.
Initializing the Project
Clone the GitHub repository to a local folder on your computer. Open the folder using VSCode or any text editor of your choice.
Docker Files
Now, we need to create a Dockerfile for the server and the client. The Dockerfile essentially contains the build instructions to build the image.
Let’s start by creating the Dockerfile for the client (our React Frontend).
1. In the client folder, create a file called Dockerfile without any extension.
2. Write the following lines of code in the file:
YAML
Creating the Build
To create the build for the entire application, we need to run the following command:
Shell
docker-compose build
________________________________________
Starting the Services
We can start the multi-container system using the following simple command:
YAML
docker-compose up
At last, we can open http://localhost:3000 to see our React Frontend.
The backend server is live on http://localhost:5000
And MongoDB is running on http://localhost:27017
________________________________________
Maintenance and Inspection
We can inspect running services using the command:
Shell
docker-compose ps
For dumping the logs of all the running services, use the following command:
Shell
docker-compose logs
________________________________________
Stopping the Containers
To stop all the services, we use :
Shell
docker-compose stop
To bring everything down, removing the containers entirely, with the data volume of the services:
Shell
docker-compose down --volumes
Finally, we have successfully dockerized our E-Commerce Web application.
We ZippyOPS, Provide consulting, implementation, and management services on DevOps, DevSecOps, Cloud, Automated Ops, Microservices, Infrastructure, and Security
Services offered by us: https://www.zippyops.com/services
Our Products: https://www.zippyops.com/products
Our Solutions: https://www.zippyops.com/solutions
For Demo, videos check out YouTube Playlist: https://www.youtube.com/watch?v=4FYvPooN_Tg&list=PLCJ3JpanNyCfXlHahZhYgJH9-rV6ouPro
If this seems interesting, please email us at [email protected] for a call.
Relevant Blogs:
Getting Started With Docker: 5 Easy Steps
How To Use Hashicorp Tools To Create a Secured Edge Infrastructure
Recent Comments
No comments
Leave a Comment
We will be happy to hear what you think about this post